finishing rhodes
Wishing you a good Sunday -- today on the blog, we welcome Jerusha Neely, technical editor, pattern production extraordinaire, and all-around miracle maker at Q HQ, who took the time to share some tips for her Rhodes pattern, released earlier this year. Enjoy!
Hi all!
First off, I hope all are doing as well as can be during this time of grief and uncertainty. It is hard to wrap my brain around the true impact of the pandemic, now and for some time to come. Even small losses can feel gigantic. All we can do is our best! I read a little message a few days ago from a healer I know who wrote about how our brains are creating new neural pathways as our lives are being tousled (a mild term, I know) and reshaped. For sure I know I am feeling like my brain is being rewired! Making helps: Hand knits, music, food. Sometimes the motivation is scarce, but I always find my way back. Hope this is true for you, dear fellow makers.
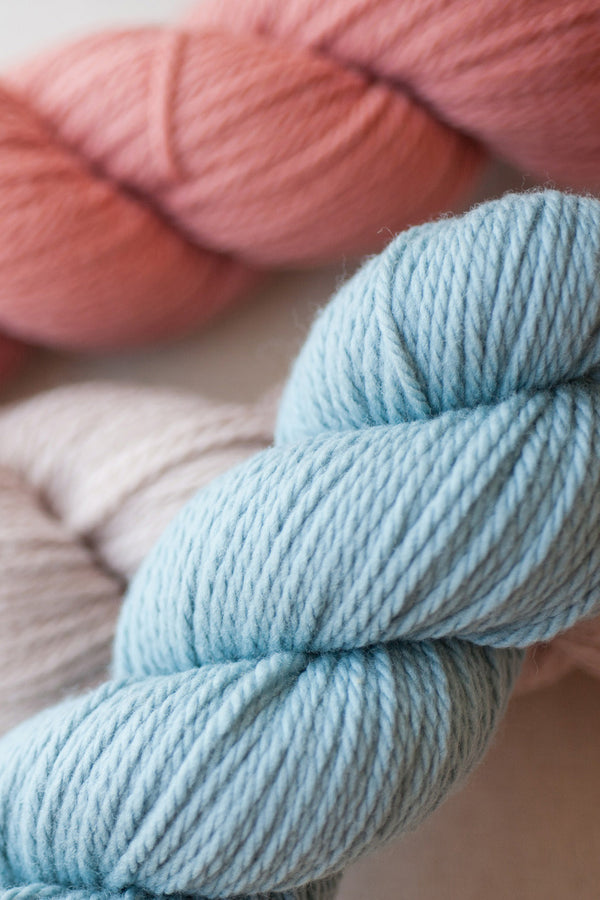
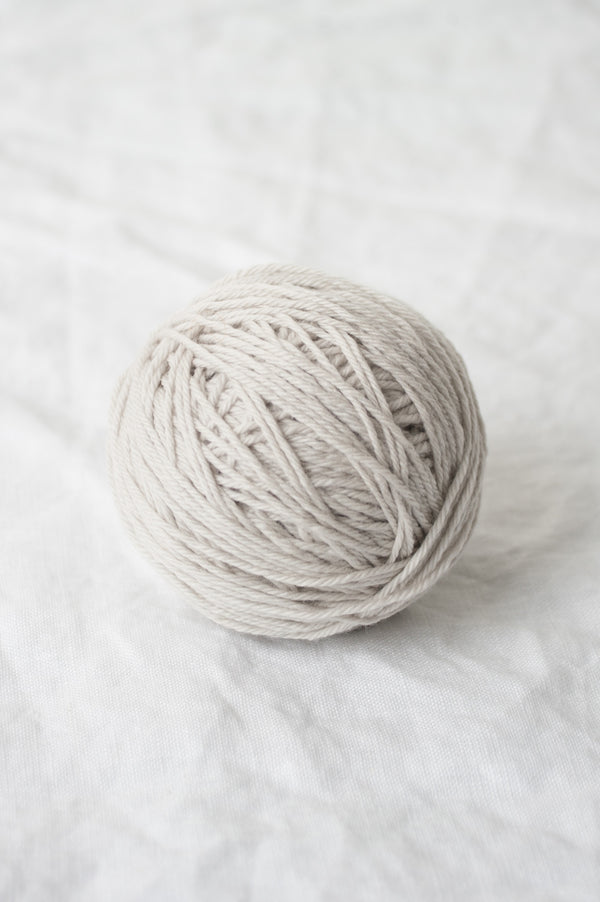
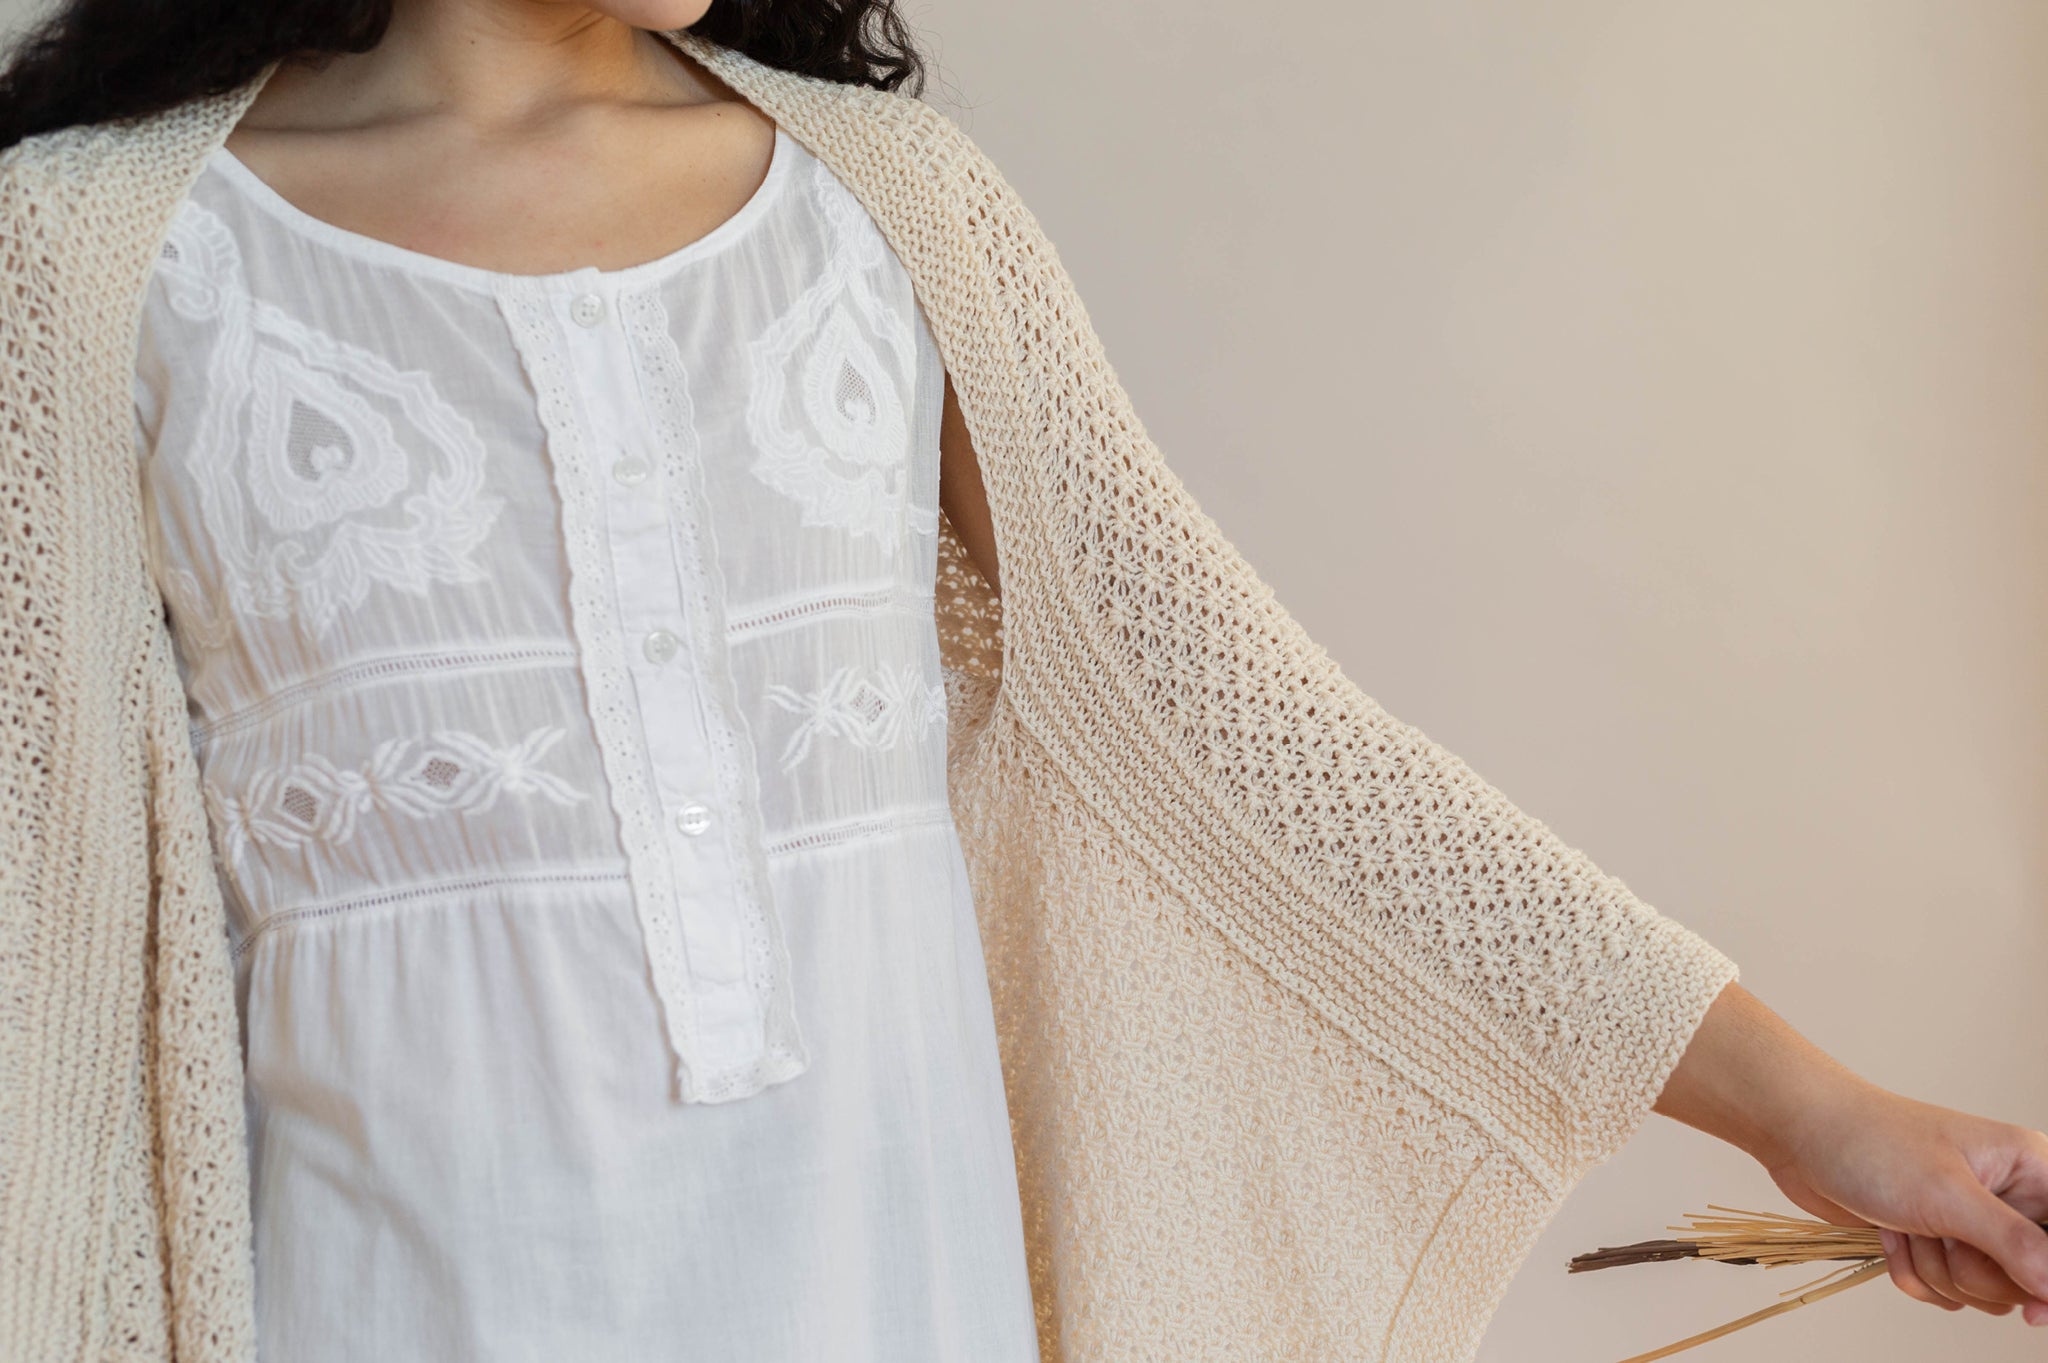
When we published my Rhodes shrug back in February (a lifetime ago seemingly!) in our sweet silk/wool Tern, I figured folks might appreciate a visual on the final stage of the project: Making the sleeves, which involves both knitting a welt and binding off, at the same time.
On my prototype (not the final design you see photographed in the pattern), I simply sewed the top part of my rectangle down using whip stitch, but that was a totally different fabric, and not the sweet stitch pattern that became the basis for the final design. I really wanted to make use of the welting technique in a large-scale way, so I had to make sure that the directionality of the knitting would allow for that.
Leila filmed me playing around with my swatch to demonstrate the final finishing. Of course…there are some things I did in the video that are not quite the way they are laid out in the pattern, and I hope you'll forgive me! The broad-strokes technique is there, though some of the details diverge from the instructions. These are identified as such throughout the tutorial.
In the video, you'll see that I went ahead and bound off all edges of the garter stitch border except for the top edge. You'll also see that I threaded the waste yarn through the garter border so that it goes right to the edge on each side.
Next, you'll see me picking up the stitches from the lifeline and getting started with the simultaneous welting and bind off, which you'll see is similar to a three-needle bind off, though in the video I'm executing the bind off knitwise, not purlwise, as instructed in the pattern—wait for it…I figured that out halfway through, and the other sleeve is done as written in the pattern. We figured you could see both options—if you hate binding off purlwise, you can see what it would look like the other way!
Once I get beyond the first sleeve, you'll see me binding off normally for the neck opening until I reach the other set of sleeve stitches. Now, you'll see me working the welt/bind off purlwise.
After all that, remove the lifelines from the sleeves and, if you like, steam-block the piece again.
I hope you love your finished shrug (it's real fun to wear when dancing)! And, I hope what we've laid out for you is helpful.
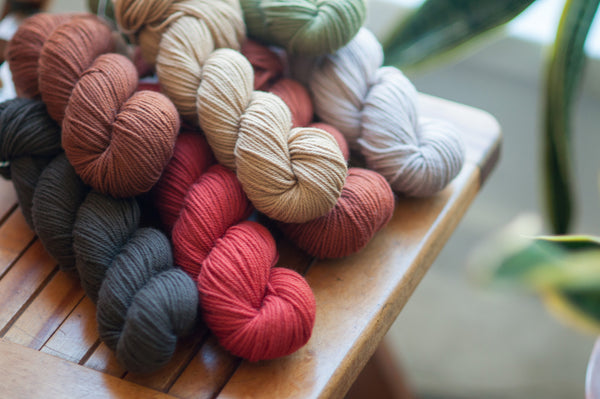
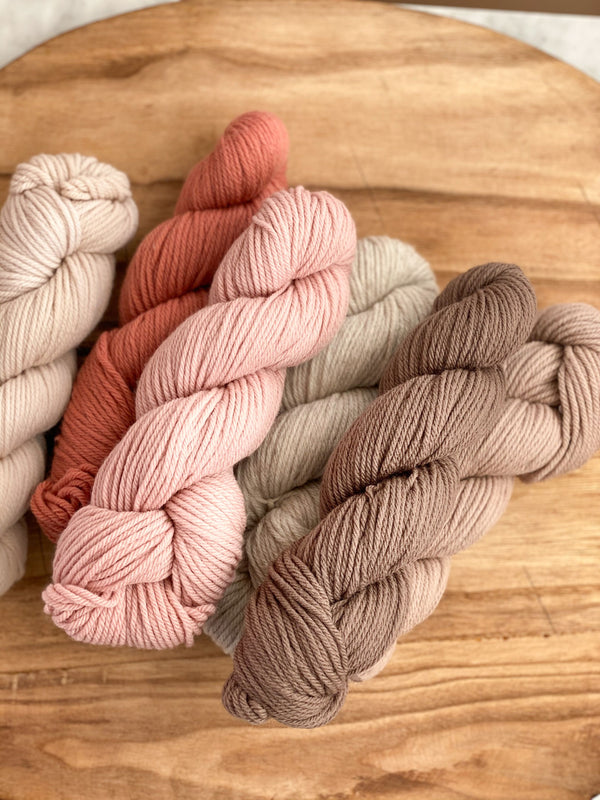
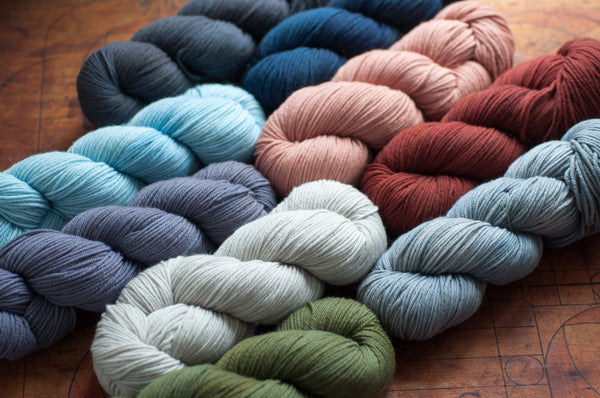
Aaaand...just remembering that this was made in a limited edition shade! Magnolia is a color I wish we had all the time. If you would like to make this but missed out on the Magnolia, I think this would look amazing in Tern colors Ink, Shoals, Syrah, Mist...Atolla (I dearly love our deep shades in this yarn). Cumulus, also, if you're wanting something similar to Magnolia!
If we're out of stock on a color you've got your eye on, go ahead and click on our back in stock notification link! You'll be the first to know when we have more Tern.
Questions? Don't hesitate to email us at info@quinceandco.com.
xoxo, jerusha