knit the planet

While talking about Earth Day and what we'd like to do to celebrate this beautiful celestial body that sustains us all, my thoughts immediately gravitated to the knitted globe.
Choosing Yarn
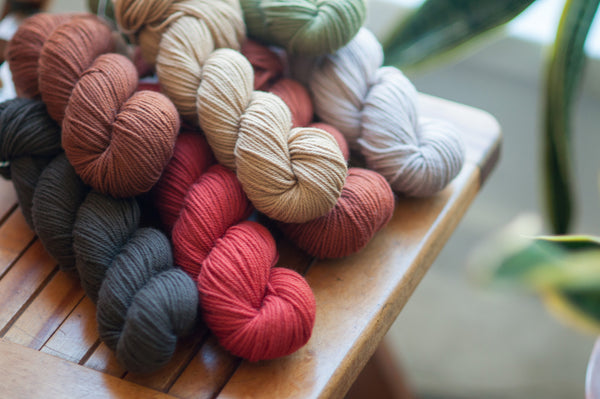
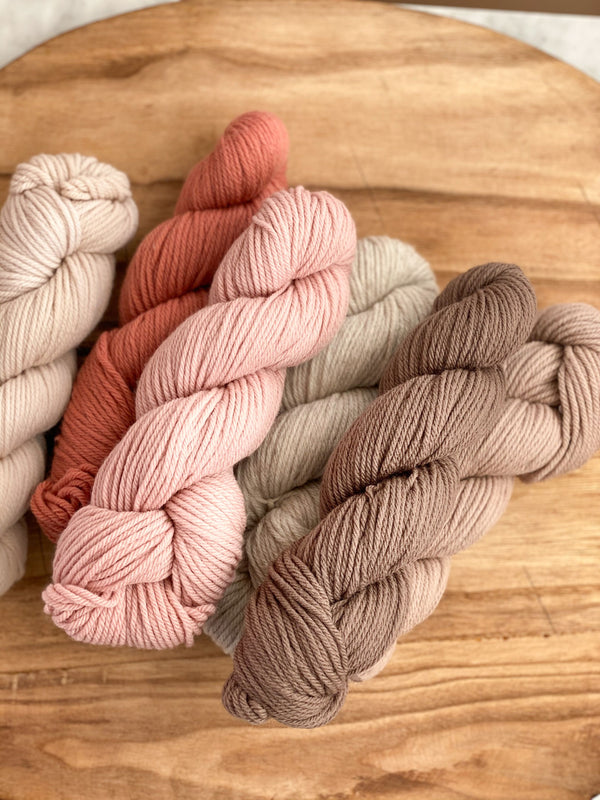
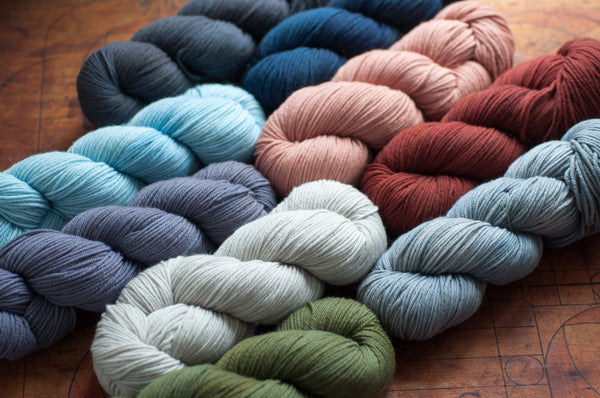
I knew I wanted to use Tern, our wool and silk blend, but choosing colors proved difficult. Mist or Prout's Neck would make great traditional sea shades, and Seaweed for continents, but I was hoping for a more worn and antique look to my colors, and so I chose to use Backbay for the water hue and Aventurine for my land masses.

Building A Better World
With some trial and error, I learned the ideal way to form my sphere was to start with a waste yarn cast on and work the center body, then decrease to one pole, then pick out the cast on and decrease from there to the other pole. If you've ever made a basic hat, this shaping will feel familiar.
In figuring out the proportions needed to make a rounded ball, I found it all works neatly into a formula that could be used for any size sphere in just about any weight of yarn. See the tutorial at the end of this page for that.

Taking Shape
Partway through shaping the second pole, I began my stuffing. I used some scoured lock wool we had laying around the office, but you can use fiberfill, wool roving, or wool or cotton batting to fill yours.
You could even add a small sachet of lavender to use as an air freshener, or insert a small bell and make this a neat cat toy or baby rattle.
![]()
Be sure your sphere is sufficiently stuffed. Handling the ball to decorate it will cause a bit of flattening, so be sure it feels nice and firm at the start.

Land Ahoy!
I used the duplicate stitch to build continents on top of my ocean color, but you can use embroidery, cross stitch, or even applique fabric continents onto your sphere.
Pick the method most comfortable to you, and remember, it need not be perfect!

I used a globe as reference and began with the lower tip of Africa, then moved up and over through Europe and Asia, finishing with Australia and North and South America.
Global Positioning System
It helps to think of the globe in four parts: With the center of your starting point at the center of your view of the sphere, fill in all you can see from this perspective on the globe, then rotate the globe so the center of what you just worked on is now just visible at the left edge, and again, fill in all you can see.

Working in segments as described will keep you on track to have all the space you need to fill in your globe, but I found fitting in the final bit of work (for me North and South America) required some guides. I threaded bits of yarn where I saw the eastern and western edges of North America to be, then I marked the top of South America to easily fit Mexico in the space between.

And here's my finished globe! A few bits got away from me, but I'm not a perfectionist, and I'm quite proud of the result.
Go Then, There Are Other Worlds Than These
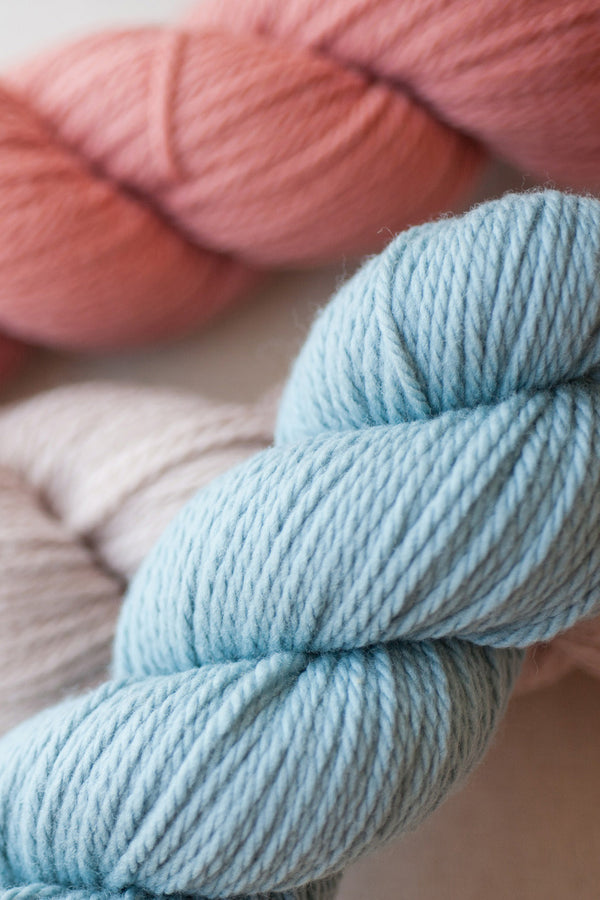
I see many more globes in my future. In our core wools: Finch, Chickadee, Lark, Osprey, or Puffin, I see the blues Bird's Egg, Stream, and Delft and greens Lichen, Boreal, and Sage all being great options. In Cleaner Cotton™ Willet, Wake and Keel would be a perfect pair.
And it doesn't need to end with the globe. I dream of making a giant puffin "beach ball" in large strips of primary colors, small striped cat toys using my leftover Lark bits, and a delicate blue and white sphere reminiscent of fine china patterns to freshen my linens drawer.
I don't think this is the last you'll see of me and my knitted spheres.
Knitted globe tutorial
What you'll need:
Yarn
Any weight you like, but consider the size of your sphere if you'll be duplicate stitching onto it. The smaller the stitches, the more detailed your stitching work can get.
Knitted globe is worked in fingering weight Tern and is approximately 9" [23 cm] in circumference.
Needles
Use double-pointed needles (dpns) for small spheres. If making a larger ball, you may use a 16" circular needle (circ) for the widest parts (just as you would a hat).
If you prefer, use a long circ for the magic loop method, or two 24" circs for the two-needle method.
Choose needles 2 sizes smaller than recommended needle size for your yarn. You want the stitches tight enough for stuffing not to show through.
For my fingering weight yarn, I used size US 1 [2.25 mm]; for worsted weight (like Lark), US 5 [3.75 mm] would do, and for bulky (like Puffin), try size US 9 [5.5 mm].
Notions
Stitch markers
Waste yarn
Tapestry needle
Calculator
Fiberfill or wool roving or batting for stuffing
If working in applique you will also need:
Felt, cotton, or other fabric for continents
Sewing needle and matching thread
Notes
Sphere is knitted from the center down to bottom, beginning from waste yarn. Waste yarn is carefully removed and stitches are worked up to top, stuffing the sphere partway through the top shaping. Sphere can be decorated using duplicate stitch, cross stitch, embroidery, or applique.
Globe is decorated using duplicate stitch.
Begin bottom of sphere
With waste yarn, cast on desired number of stitches. Be sure to use a multiple of 8 sts. Join to work in the round.
I used 64 sts in fingering weight to make a 9" [23 cm] circumference sphere.
Do a little math
Take your cast on number and divide by 8. Multiply the result by 2, then subtract 1.
With your selected ocean color, knit this number of rounds to work the center of your sphere. Before knitting the final knit round, figure out your decreases and place markers as follows:
Figure out your decreases:
Take your stitch count and divide by 8.
Knit this number of stitches, then place a marker; repeat this until you have 8 even segments.
If working on dpns, place 3 segments on each of two dpns, then place remaining 2 segments on a third dpn.
If working magic loop or with two circs, divide the segments evenly: 4 on each side. Markers aren’t necessary at the end of a needle.
Begin decreases
Next rnd dec rnd: *Knit to 2 sts before marker, k2tog; repeat from * for each marker to end (8 stitches decreased).
Next rnd: Knit.
Repeat the last 2 rnds until you have 16 sts on your needles, then repeat dec rnd one more time—8 sts rem.
Break yarn and draw through remaining sts, then draw tail through to WS of work.
Begin top of sphere
Carefully undo waste yarn and place sts onto needles. Make sure you have the same number you cast on; if you are missing stitches, they will drop and ruin your globe.
Knit one rnd, placing markers and dividing stitches onto needles as you did for the bottom half.
Begin decreases
Next rnd dec rnd: *Knit to 2 sts before marker, k2tog; rep for each marker to end (8 sts dec'd).
Next rnd: Knit.
Repeat the last 2 rnds until you've worked about half of your decreases.
Stuff your sphere
Take care not to under-stuff, as the fill will flatten slightly while decorating. Sphere should be completely filled, with no wrinkling or pucker to the fabric, and feel fairly firm when squeezed.
Complete decreases
Complete your remaining decreases as established above and close up top of sphere. Draw tail through to inside of work.
Decorate your sphere
With tapestry needle and your selected land color, use the duplicate stitch, embroidery, or cross stitch to built continents. The globe decoration was worked freehand, with an actual globe as a guide. It helps to think of the globe in four parts, and you can add little yarn guides for the outer edges of continents to keep things tidy.
Alternatively, you can cut continent shapes out of felt or other fabric and sew with needle and thread onto your globe.