free pattern: nalu mitts

In those first fledgling years of learning to knit, I came across the most beautiful knitting patterns in Tokiyuki Shimada's book, New Style of Heirloom Knitting. There was a particular sweater adorned top to bottom, sleeve to sleeve with twisted cable motifs, and I was smitten. The twisted waves pattern on these mitts originated from that sweater, which I still daydream about ten years on, still in wonder that it's possible to make such intricate beauty out of simple knits and purls. Our new Chickadee Organic Heathers is exactly the yarn I wished existed when I first wrote this pattern back in 2008. -Leila
Nalu Mitts
by Leila Raabe
Finished measurements
7½" [19 cm] hand circumference and 7½" [19 cm] long
Yarn
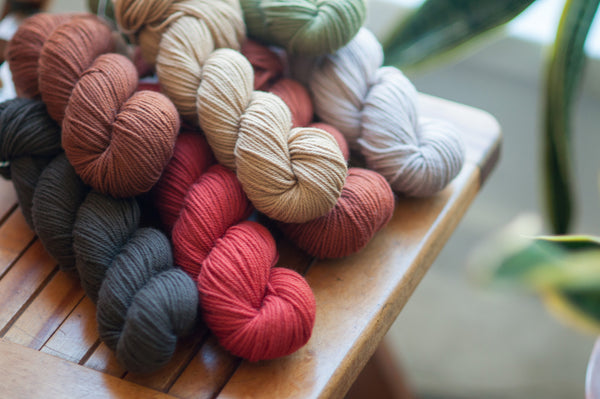
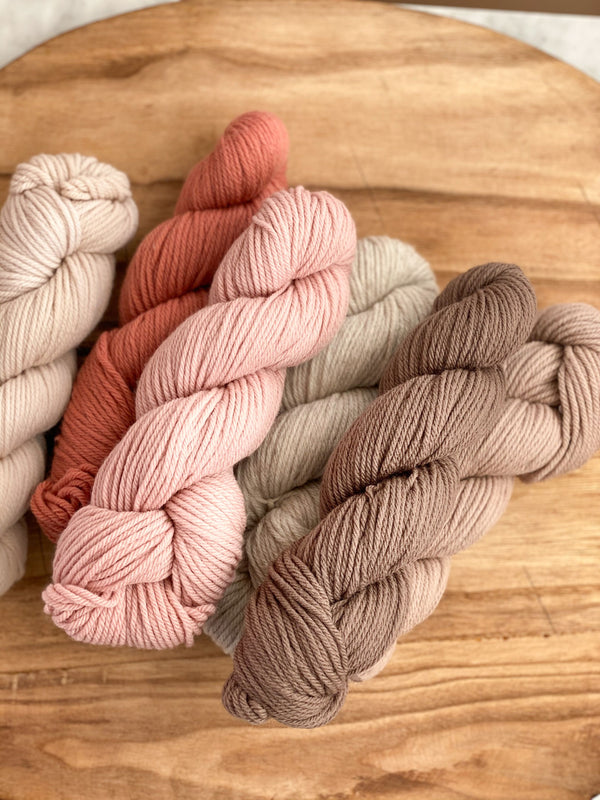
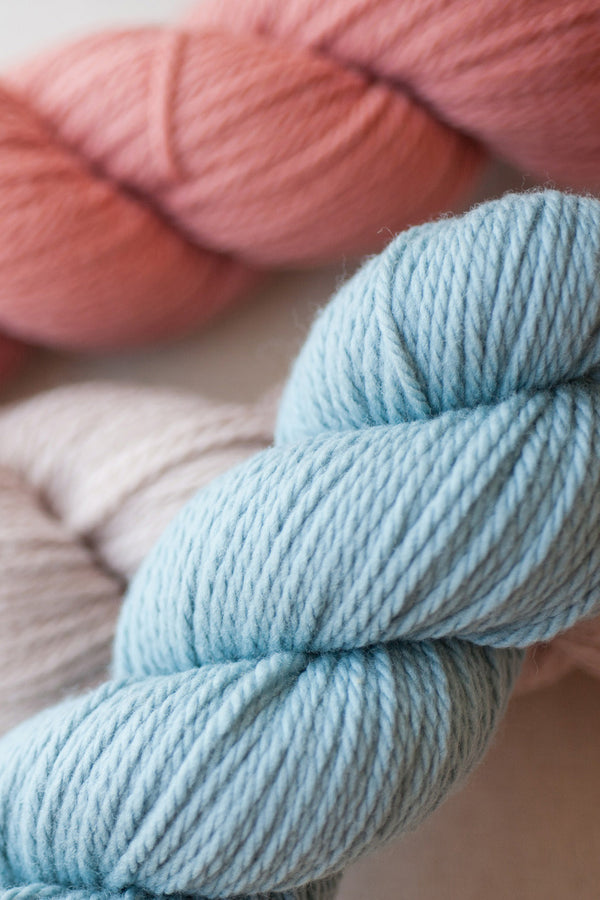
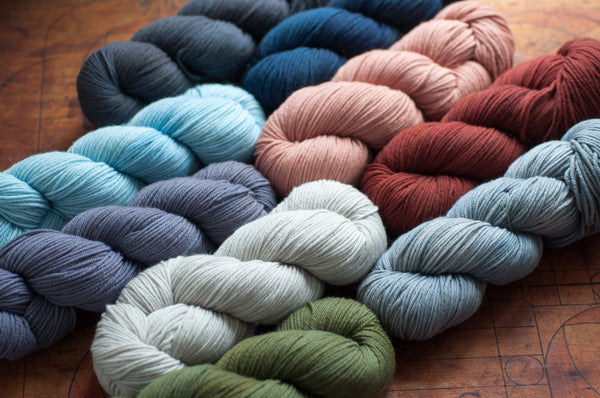
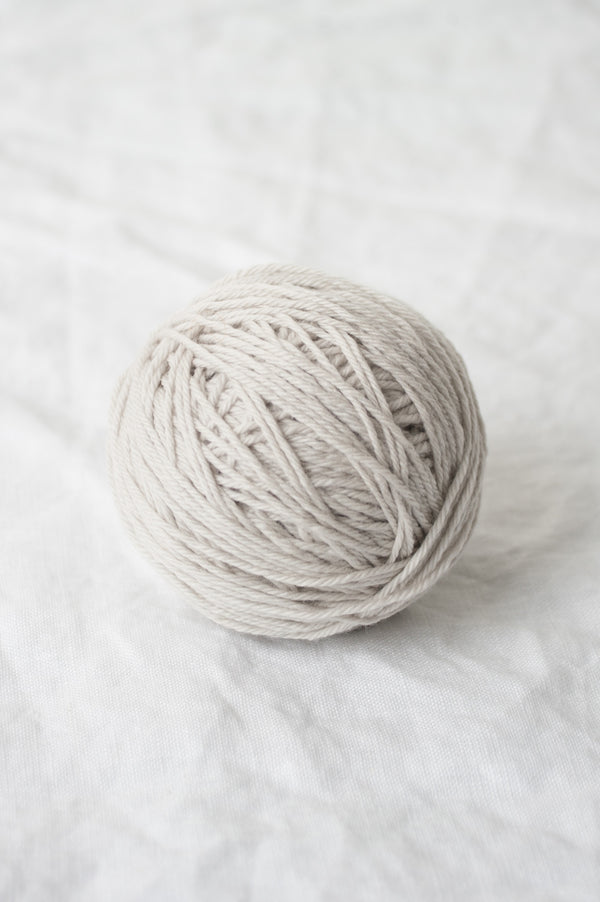
Organic Chickadee Heathers
(100% organic wool; 164yd [150m]/~50g)
1 skein Larimar 164
Needles
One set double-pointed needles in size US 3 [3.25 mm]Or size to obtain gauge
Notions
Stitch markers in two colors or styles, cable needle (optional), waste yarn, and a tapestry needle
Gauge
26 sts and 37 rnds = 4" [10 cm] in stockinette stitch, after blocking
Abbreviations
LPC-tbl: Slip 1 stitch onto cable needle (cn) and hold in front, p1, then k1-tbl from cn.
RPC-tbl: Slip 1 stitch onto cn and hold in back, k1-tbl, then p1 from cn.
LC-tbl: Slip 1 stitch onto cn and hold in front, k1, then k1-tbl from cn.
RC-tbl: Slip 1 stitch onto cn and hold in back, k1-tbl, then k1 from cn.
Stockinette stitch (St st): Knit every round.
For standard abbreviations, see this page.
Stitch patterns
Right cable panel (11 stitches)
Rnd 1: (P1, k1) two times, p1 (k1-tbl, p1) three times.
Rnd 2: P2, k1, p1, k1, (k1-tbl, p1) three times.
Rnd 3: (P1, k1) two times, p1 (k1-tbl, p1) three times.
Rnd 4: P2, k1, p1, (RPC-tbl) three times, p1.
Rnd 5: P1, k1, p1, (RPC-tbl) three times, p2.
Rnd 6: P2, (RPC-tbl) three times, p3.
Rnd 7: P1, (RPC-tbl) three times, p4.
Rnds 8-10: (P1, k1-tbl) three times, p5.
Rnd 11: P1, LC-tbl, (LPC-tbl) two times, p4.
Rnd 12: P2, LC-tbl, (LPC-tbl) two times, p3.
Rnd 13: P1, k1, p1, LC-tbl, (LPC-tbl) two times, p2.
Rnd 14: P2, k1, p1, LC-tbl, (LPC-tbl) two times, p1.
Repeat Rnds 1-14 for right cable panel.
Left cable panel (11 stitches)
Rnd 1: (P1, k1-tbl) three times, p1, (k1, p1) two times.
Rnd 2: (P1, k1-tbl) three times, k1, p1, k1, p2.
Rnd 3: (P1, k1-tbl) three times, p1, (k1, p1) two times.
Rnd 4: P1, (LPC-tbl) three times, p1, k1, p2.
Rnd 5: P2, (LPC-tbl) three times, p1, k1, p1.
Rnd 6: P3, (LPC-tbl) three times, p2.
Rnd 7: P4, (LPC-tbl) three times, p1.
Rnds 8-10: P5, (k1-tbl, p1) three times.
Rnd 11: P4, (RPC-tbl) two times, RC-tbl, p1.
Rnd 12: P3, (RPC-tbl) two times, RC-tbl, p2.
Rnd 13: P2, (RPC-tbl) two times, RC-tbl, p1, k1, p1.
Rnd 14: P1, (RPC-tbl) two times, RC-tbl, p1, k1, p2.
Repeat Rnds 1-14 for left cable panel.
Note
Divide stitches evenly onto double-pointed needles, making sure there are at least 18 stitches on the first needle for ease in working the cable panel.
Mitts
For a printable version of this pattern, visit the product page and add to cart.
Using the long-tail cast on, CO 50 sts.
Place marker (pm) for beginning of round (BOR) and join to work in the round, careful not to twist stitches.
Begin twisted rib
First rnd: *K1-tbl, p1; repeat from * to end.
Continue in twisted rib for 2" [5 cm].
Next rnd place markers: Work in rib for 7 sts, pm for panel, continue in rib for 11 sts, pm for panel, continue in rib to end.
~
Right mitt only:
Begin stockinette and cable panel
Next rnd: Knit to panel marker (m), work Rnd 1 of right cable panel to next m, knit to end.
Next rnd: Knit to panel m, work next rnd of panel to next m, knit to end.
Continue in St st and cable panel until Rnds 1-14 have been worked one time, then work Rnds 1 and 2 one more time.
Set up for gusset increases
Next rnd place markers: Knit to panel m, work Rnd 3 of panel to next m, k11, pm for gusset, k1, pm for gusset, knit 20 sts to end.
Next rnd inc rnd: Knit to panel m, work next rnd of panel to next m, knit to gusset m, slip marker (sl m), M1R, k1, M1L, sl m, knit to end (2 sts inc'd)—52 sts.
Next rnd: Knit to panel m, work next rnd of panel to next m, knit to end slipping gusset markers.
Begin gusset increases
Next rnd inc rnd: Knit to panel m, work next rnd of panel to next m, knit to gusset m, sl m, M1R, knit to next gusset m, M1L, sl m, knit to end (2 sts inc'd)—54 sts.
Repeat inc rnd every 2 rnds six more times—66 sts on needles; 17 sts between gusset markers.
Next rnd: Knit to panel m, work next rnd of panel to next m, knit to gusset m, remove gusset m, place next 17 sts onto waste yarn, remove gusset m, using the backward loop cast on, CO 3 sts, knit to end—52 sts rem.
Proceed to Begin upper hand.
~
Left mitt only:
Begin stockinette and cable panel
Next rnd: Knit to panel marker (m), work Rnd 1 of left cable panel to next m, knit to end.
Next rnd: Knit to panel m, work next rnd of panel to next m, knit to end.
Continue in St st and cable panel until Rnds 1-14 have been worked one time, then work Rnds 1 and 2 one more time.
Set up for gusset increases
Next rnd place markers: Knit to panel m, work Rnd 3 of panel to next m, k27, pm for gusset, k1, pm for gusset, knit 4 sts to end.
Next rnd inc rnd: Knit to panel m, work next rnd of panel to next m, knit to gusset m, slip marker (sl m), M1R, k1, M1L, sl m, knit to end (2 sts inc'd)—52 sts.
Next rnd: Knit to panel m, work next rnd of panel to next m, knit to end slipping gusset markers.
Begin gusset increases
Next rnd inc rnd: Knit to panel m, work next rnd of panel to next m, knit to gusset m, sl m, M1R, knit to next gusset m, M1L, sl m, knit to end (2 sts inc'd)—54 sts.
Repeat inc rnd every 2 rnds six more times—66 sts on needles; 17 sts between gusset markers.
Next rnd: Knit to panel m, work next rnd of panel to next m, knit to gusset m, remove gusset m, place next 17 sts onto waste yarn, remove gusset m, using the backward loop cast on, CO 3 sts, knit to end—52 sts rem.
~
Begin upper hand
Next rnd: Knit to panel m, work next rnd of panel to next m, knit to end.
Continue as established until mitt measures approximately ½" [1.5 cm] from thumb cast on, ending after Rnd 10 of panel.
Begin twisted rib
Next rnd: *K1-tbl, p1; repeat from * to end.
Continue in twisted rib for 1½" [4 cm].
Next rnd: Bind off in pattern.
Thumb
Return 17 sts held for thumb to needles. With RS facing, pick up and knit 1 st in each of the 3 sts cast on at thumb opening—20 sts. Pm for BOR.
Next rnd: Knit.
Continue in St st for 3 more rnds.
Begin twisted rib
Next rnd: *K1-tbl, p1; repeat from * to end.
Continue in twisted rib for 2 more rnds.
Next rnd: Bind off in pattern.
Finishing
Weave in ends. Steam- or wet-block mitts to finished measurements.

Looking for a PDF version? Go to Nalu Mitts

2 comments
Hi Amy!
Every 2 rounds means you work one round of increases and then one round in pattern with no increases. Your increases will be worked 6 more times over a total of 12 rounds. I hope this helps!
Repeat inc rnd every 2 rnds six more times—66 sts on needles; 17 sts between gusset markers.
Shouldn’t it be just repeat the increase round six more times? That would end up being 66 sts.( 17 sts between gusset markers)
Not sure why is says “every 2 rounds “? That would be way too many rounds or is there something I’m missing?
Thanks a lot
Amy