working with kestrel
Hooray, the weekend is here! And with it, designer Elizabeth Doherty, back on the Quince blog to share some of her innovative tips on working with Kestrel, our ribbon linen.
We love these pointers and hope you find them helpful, as well!
Working with Kestrel
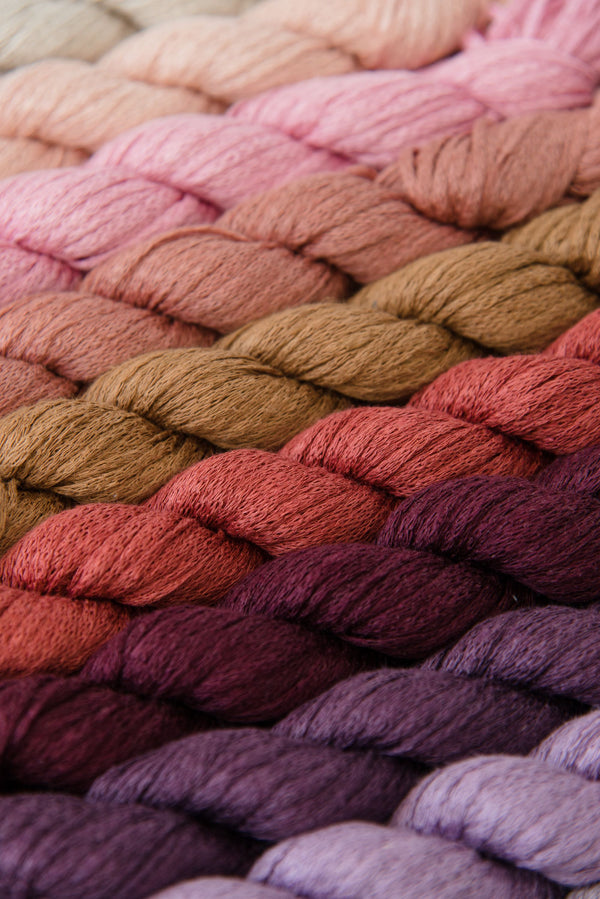
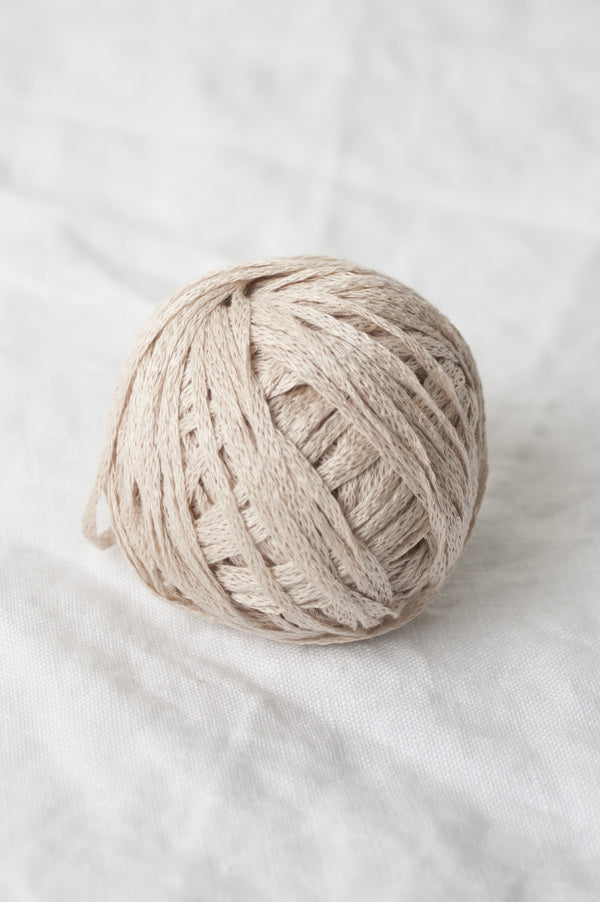
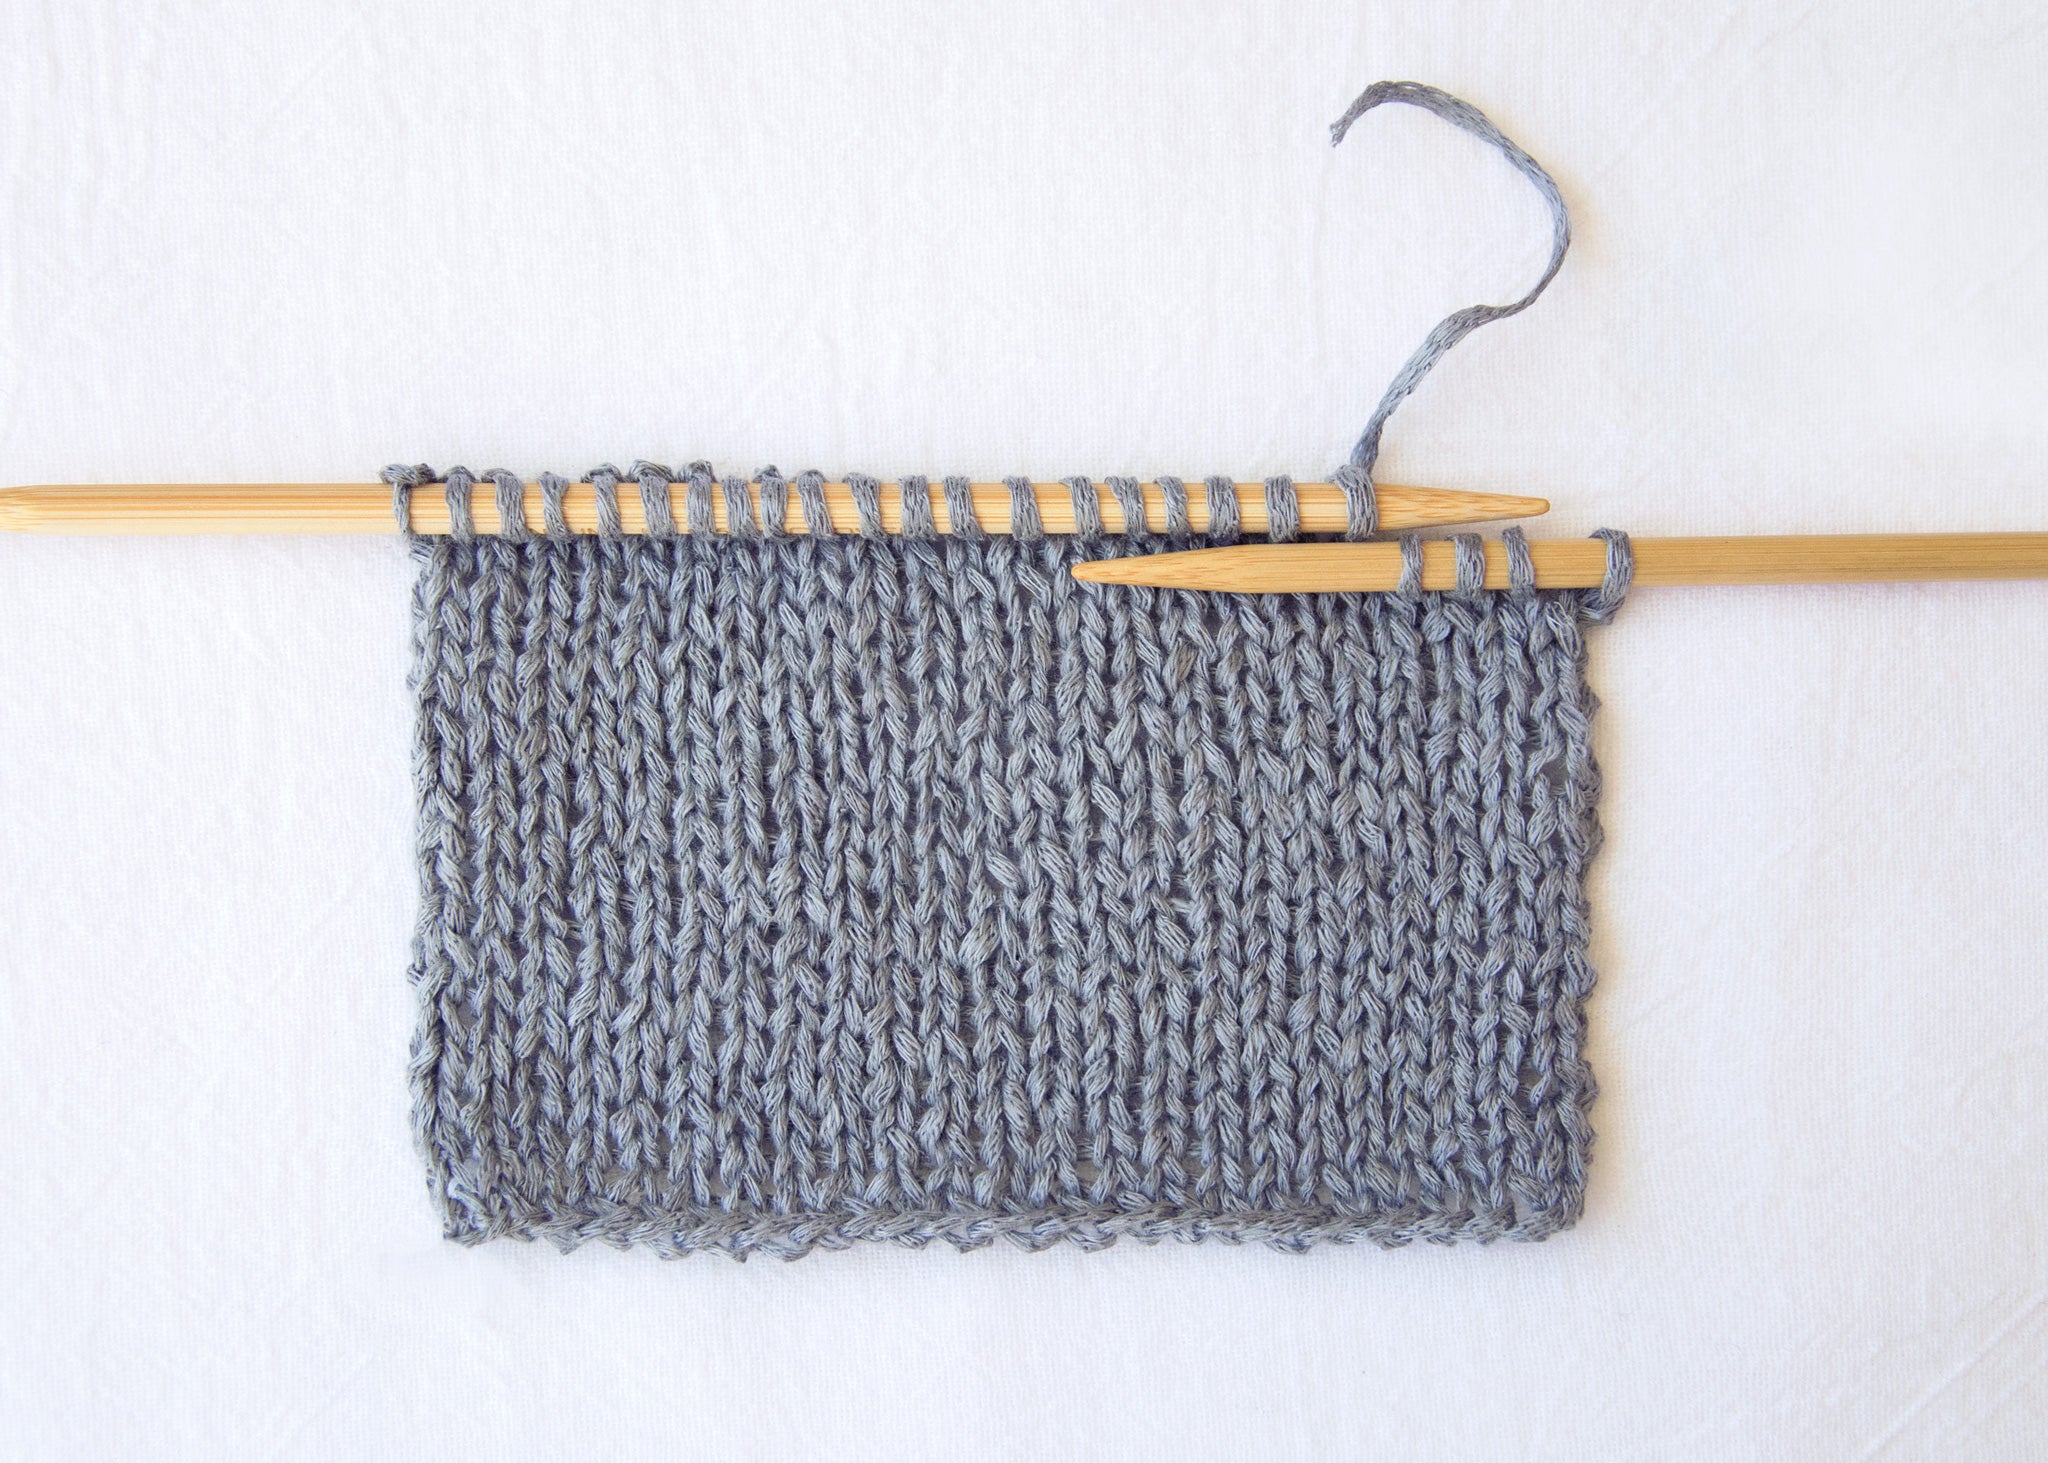
It's full-on linen season here in the northern hemisphere, and I'm swatching for a new design in Kestrel, Quince and Co's Aran weight linen yarn. Kestrel is a tape yarn, a knitted tube that has been flattened to form a sort of ribbon. This kind of construction may be new to a lot of knitters, so I thought I'd share a few things I've discovered about working with this beautiful yarn.
Joining Kestrel
Linen fiber is inherently heavier than wool, so to keep garments light and airy, linen yarns are often worked at a fairly open gauge. This means that joins and woven-in ends are more likely to be visible in the finished fabric than they would be in a more densely knit fabric. On top of that, linen doesn't felt to itself the way wool does, so to keep ends from coming to the surface, it is often recommended that they be left a bit longer than they otherwise would be—not always the most attractive thing.
On the plus side, you can do some things with linen yarn that are really not possible with wool—including making sewn joins. Because Kestrel is a tape yarn, it is easy to join two strands by simply overlapping the two ends, and sewing them together with a few stitches in a matching sewing thread. This is the technique I used when knitting my Helvetica cardigan.
This sewn join will add a little thickness, which may be visible as a tiny lump in stockinette fabric, and for that reason I don't really use it in the middle of a garment. When worked at the selvedge edges of a piece of flat knitting, however, it makes a strong invisible join, eliminating a lot of ends that would otherwise need to be woven in.
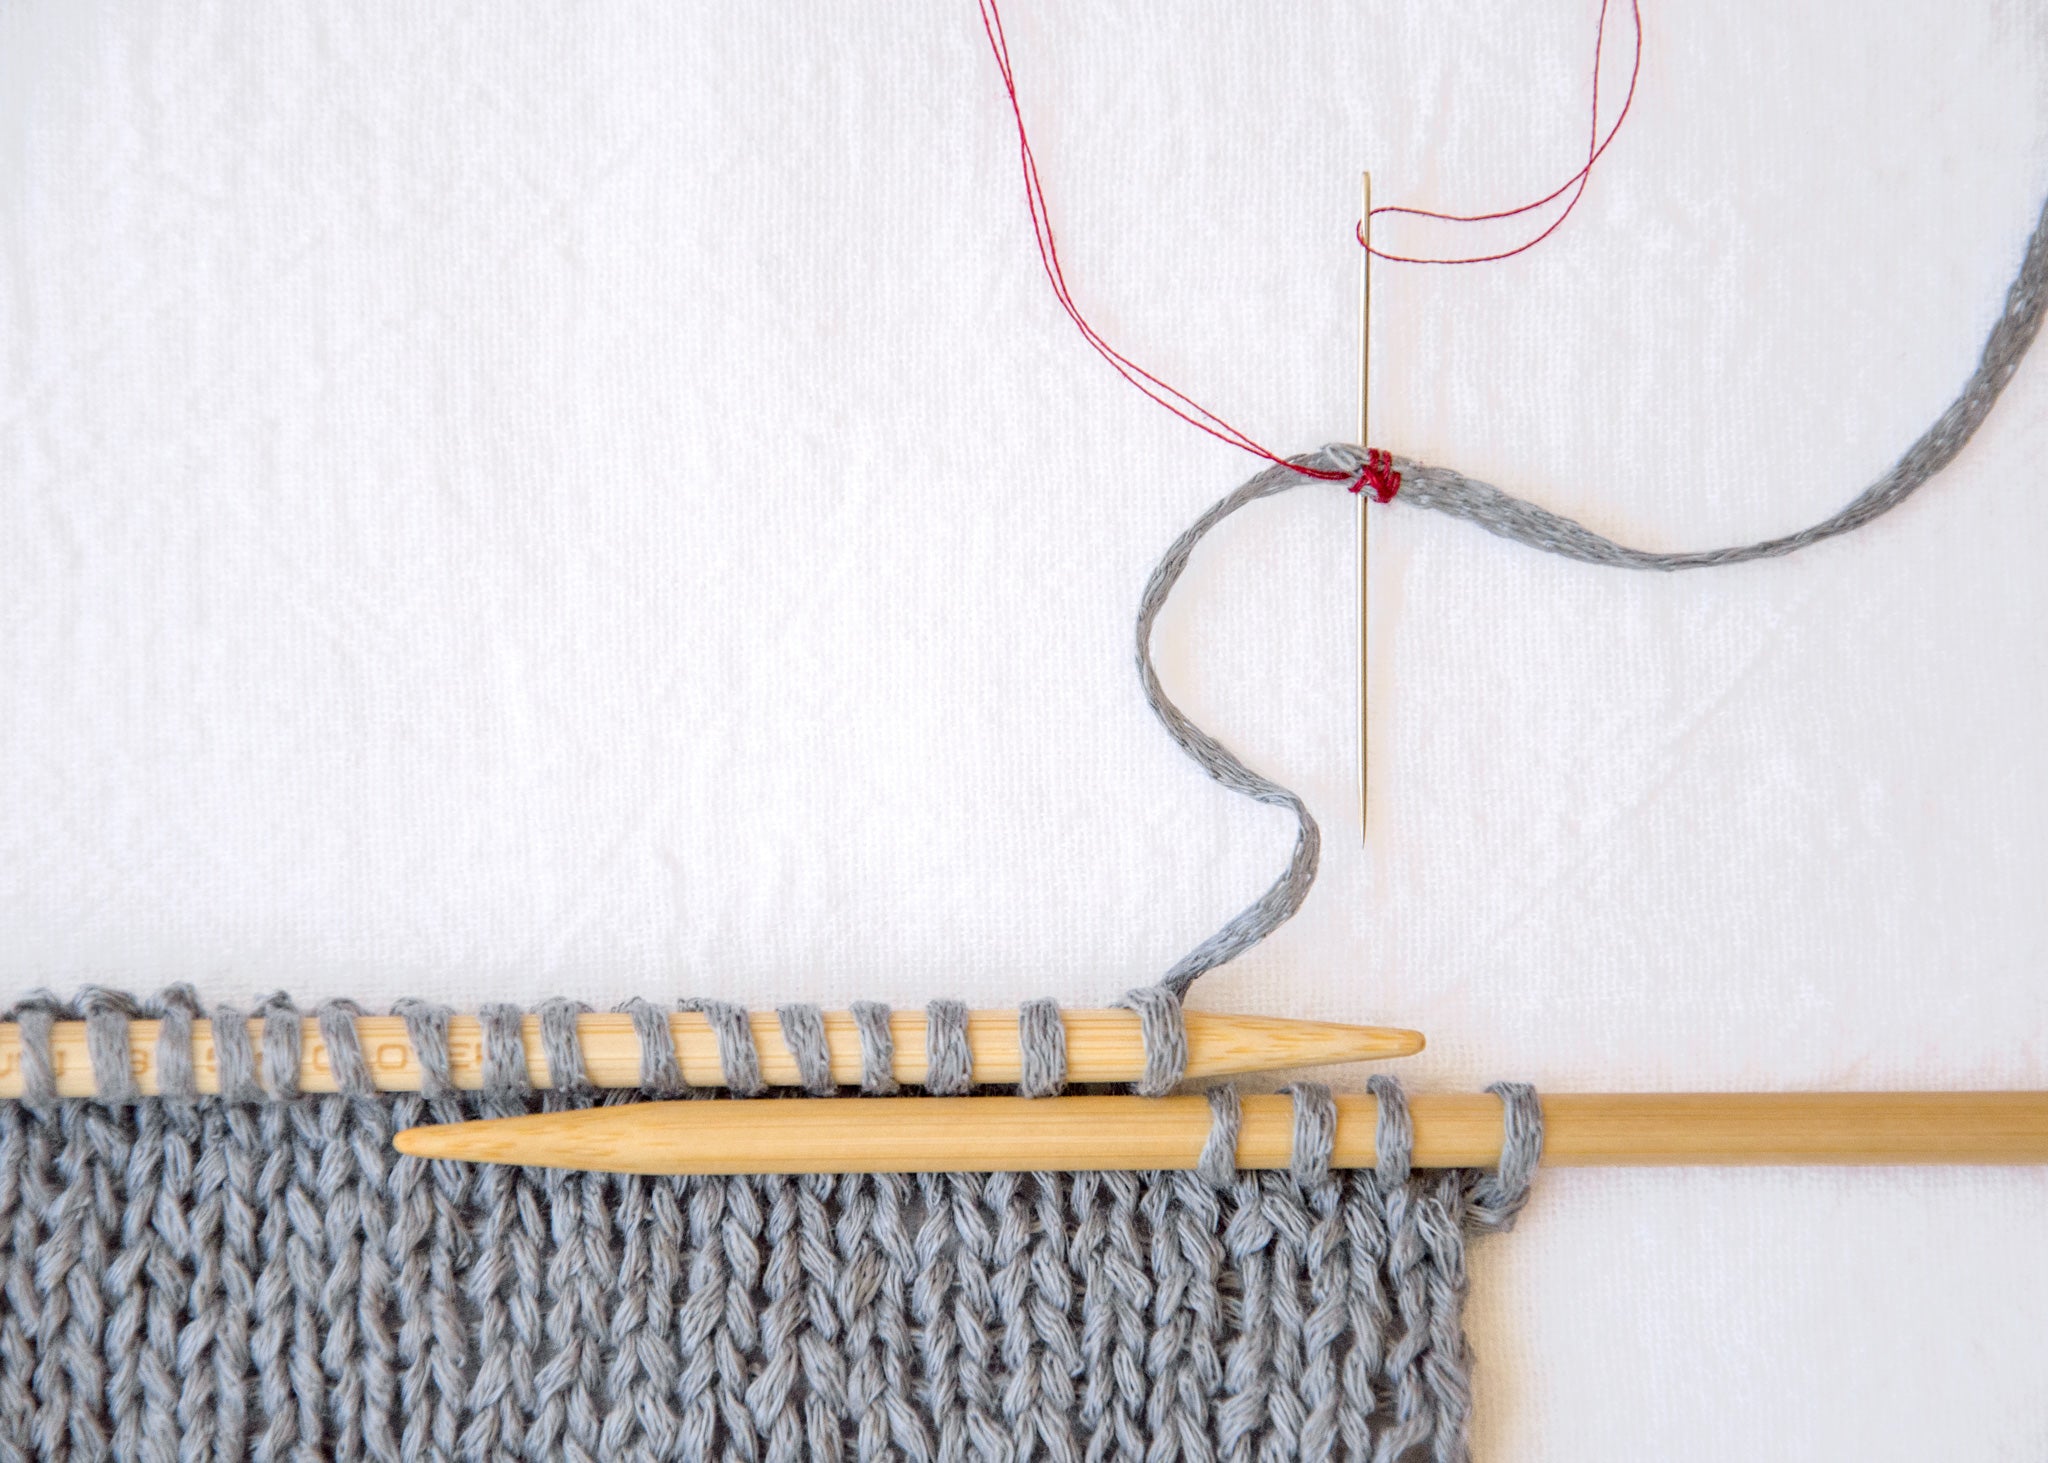
Here's what I do: When I get to the end of a row and can see that I don't have enough yarn left to work another full row, I cut the yarn absolutely flush with the edge of the work. This will place the join right on that final selvedge stitch. Next, I tink back four or five stitches—just enough to give myself a little tail to work with. Now I overlap the two ends by about three-eights of an inch [1 cm] and sew them together with a few overhand stitches (shown here in a contrasting thread). All that remains is to reknit those stitches. The join will fall right on that final stitch.
A few photos to illustrate the process:

Cut the yarn flush with the edge of the last stitch.
Unknit a few stitches to create a little tail.

Overlap the ends of tail and the new yarn, and stitch them together. It doesn't need to be pretty.

After working the band, the join is held securely in the selvedge.
I used this technique throughout the body of Helvetica. When I later picked up stitches for the front bands, those sewn joins were invisible, locked in behind the band. Once the band is in place, there can be no possible stress on the join—so I don't have to worry about them ever coming loose. The technique is brilliant for flat knitting, and I might even use it on a piece that had no edging or bands, but what about knitting in the round?
For Helvetica's sleeves, I joined new skeins by simply dropping the old yarn, and picking up the new. I made sure that the joins were on the underside of the sleeve where they'd be less visible, and left long tails which I temporarily knotted together. When the sweater was finished, I wove the ends in on the wrong side of the fabric using duplicate stitch, then tacked them down with a few tiny stitches in the same matching thread, and cut the ends very close. For a sweater body knit in the round, I'd do the same, and make sure the joins were on the sides of the garment.
Finer Points
How do I know if I have enough yarn to make it across a full row? If slightly more than three times the width of the piece remains, I know I'm good. If I have less yarn than that, I know I won't get another full row, so I make my cut. I may sacrifice a few yards here and there, but this way I'm sure I won't get caught in the middle of a row.
One thing to be mindful of when tinking back is to not pull the tail of yarn through a stitch to the opposite side of the fabric. For example, if the row I've just worked was a purl row, I make sure that the yarn is position, ready to purl, before stitching the two ends together.
One More Kestrel Trick
Because of their flat cross-section, tape yarns tend to get a bit twirly as you work with them—so every once in a while, you'll need to get the twists out. Thankfully, there's a really easy way to do this. For Kestrel projects, I keep a locking stitch marker handy. When things get a little too twisty, I clip the strand of working yarn to the ball, then hold my work in the air, letting the ball dangle and spin freely for a few seconds until all the twirls are out.

Kestrel is a lovely yarn that knits up quickly into supple, drapey garments—perfect for warm weather. I hope these tips will entice you to give it a try!

Thank you, Elizabeth, for sharing these fantastic tips on working with Kestrel! I recently tried out the sewn join method on a personal project and it worked a treat—a vast improvement over weaving in a long tail or tying a knot on the wrong side, both of which have a tendency to be apparent on the right side of a garment no matter how careful or evenly done.
Enjoy the rest of the weekend!
This post originally appeared on the Blue Bee Studio blog. All images and content are used with permission and owned by Elizabeth Doherty.