techniques: i-cord, three ways

Here at Quince, we love an i-cord—from bag handles and tank straps to bootie laces and bonnet ties, a knitted i-cord is often the perfect finishing touch to a project. Here are three of our favorite i-cord techniques.
I-cord (unattached)
A basic i-cord is a very small-circumference tube of stockinette fabric, cleverly knit ‘flat’. You can knit an i-cord with as few as two stitches, or up to about seven or eight stitches, depending on the weight and elasticity of your yarn.
Here’s how:
 Using a double-pointed needle (dpn)*, cast on the desired number of stitches for your i-cord; if you plan to join one end of the i-cord to another, you may wish to use a provisional cast on in waste yarn, so that you can graft the two ends together seamlessly using Kitchener Stitch.
 With your working yarn, knit across all stitches. Do not turn your work.
 **With the RS still facing, slide your stitches to the other end of your dpn (a), and place the needle with the stitches on it in your left hand. The working yarn will be coming from the stitch furthest from your needle tip.
Insert your right needle into the first stitch and knit it (b), keeping a bit of tension in the working yarn (now stretched from the farthest stitch to the nearest across the WS). After knitting the first stitch, give the working yarn a little tug to tighten (c), and knit across all remaining stitches (d).
Repeat from ** for each subsequent row until your i-cord reaches the desired length. The first few rows may look and feel a bit awkward, but keep at it and pretty soon you’ll find you have a tidy tube of knitting coming off your needles.
 To finish the end of your i-cord (if you do not plan to graft it in a loop to the beginning), break your working yarn, leaving an approximately 10” [25 cm] long tail. Thread the tail onto a tapestry needle, and draw the tail through your remaining stitches from right to left twice (a). Drop live stitches off your needle and draw the tail taut, as if closing up the top of a hat. Thread tail back through the center of the i-cord tube (b) for 6” [15 cm] or so before drawing your needle through the outside and trimming off the excess tail.
 *A note on needle selection—we’ve written the instructions for the basic i-cord above using double-pointed needles, because being able to slide the stitches from one end of a short needle to another dramatically speeds up the process. However, you can also perform this technique using straight or circular needles—you will simply need to slip your i-cord stitches back from the right to left needle between each row.
Use the i-cord cast on technique to create a substantial edging at the base of your piece, while casting on the stitches needed for your project at the same time. For the i-cord cast on, use either a circular or pair of straight needles in the appropriate needle size for your project.
Here’s how: Using the long tail cast on, cast on the desired number of stitches (referred to as ‘X’ for the remainder of these instructions) for your i-cord edging in your working yarn. Do not turn your work.
 **With the working yarn in back, slip X stitches from the right to the left needle (purlwise) (a). The working yarn will be coming from the stitch furthest from your needle tip.
Insert your right needle into the first stitch and k1-f/b (knit into the front, then into the back of the same stitch) (b), keeping a bit of tension in the working yarn (now stretched from the farthest stitch to the nearest across the WS). After working the first stitch, give the working yarn a little tug to tighten, and knit across all remaining stitches (c). You have increased your total stitch count by one; this new stitch will remain on the R needle in the next step (d).
Repeat from ** until the total number of stitches on your right needle equals your desired number of cast on stitches plus X. Turn your work.
 Bind off X sts purlwise, and slip the final stitch remaining on the right needle after bind off back to the left needle.
 You should now have the desired total number of cast on stitches on your needles, and are ready to begin your project (starting with a WS row).

The i-cord bind off matches the i-cord cast on, creating a substantial i-cord edge at the end of your work while binding off your project stitches at the same time. For the i-cord bind off, continue to use the same needles (straight, circular, or dpn) used for your project. Here’s how:
 With your work on the left needle, ready to work a RS row (a), use the knitted cast on to CO the desired number of stitches (X) for your i-cord edging (b).
 **Knit ‘X-1’ (or, all but one of your i-cord stitches) (a), k2tog-tbl (b, c). With yarn in back, slip all sts (purlwise) from right to left needle (d) (1 stitch decreased).
Repeat from ** until you have no more stitches on your left needle, and X stitches remaining on your right needle (b, below).
 Turn your work. Bind off all remaining stitches purlwise. Break yarn and weave in ends.
So, why is it called an "i-cord"?
The basic i-cord technique has been around a long time, but the inimitable Elizabeth Zimmerman coined the name "i-cord"—the "I" stands for "idiot", as she declared this technique to be so simple, absolutely anyone could do it! We hope you'll enjoy working one of these i-cord techniques into your next project.
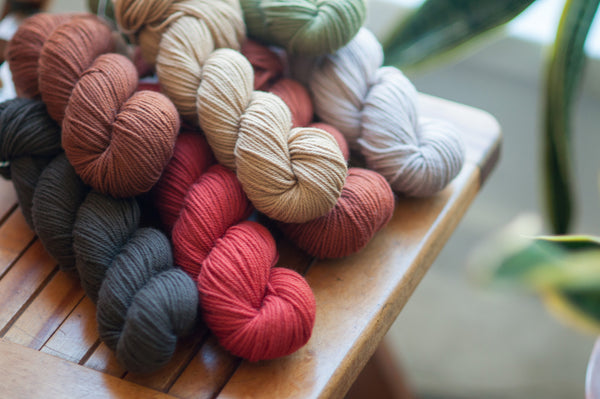
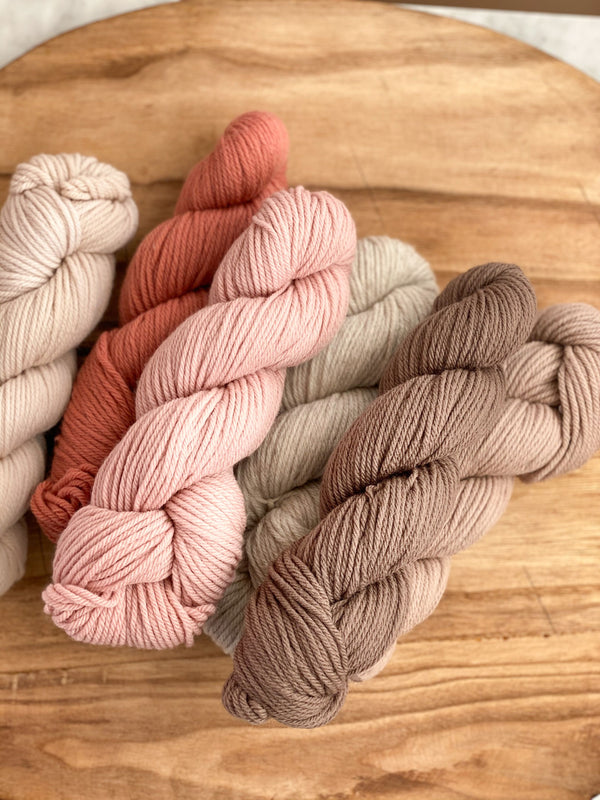
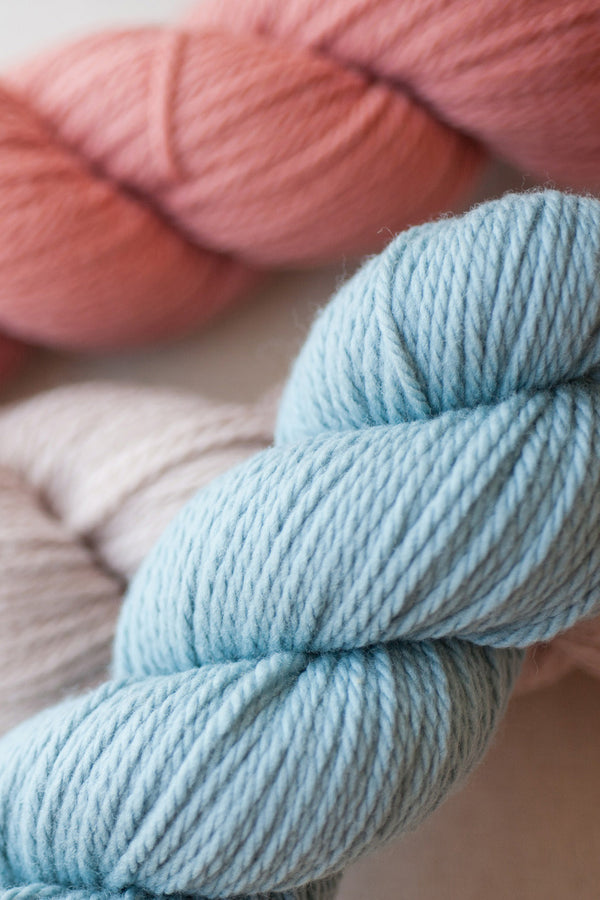
Materials used in this tutorial: Quince & Co. Osprey, 100% American wool Aran-weight yarn in colors Fox, Audouin & Carrie's Yellow, and KA interchangeable knitting needles from Twig & Horn.
Looking for other techniques covered here on the Quince blog? View all of our Techniques or go to Techniques directory