March

Yes. Really.
It's March. Time to knit some mittens.
At this point in the season, I’m down to half-pairs — one of this, one of that. Sometimes I’ve simply lost one (left in a grocery cart?) and sometimes a pair has mysteriously separated in my house and I can never spot the two at once.
But it’s still cold. Frigid even, not to put too fine an edge on things. So lately I’ve been pawing through my unruly collection of end-of-Puffin skeins and, well—I whipped up these mittens in two evenings in front of a Netflix who-done-it. They took a little less than a single skein of Iceland.

They worked up so quickly that I felt I needed to extend the process, so I added a little embroidery in Sabine at the cuff.
Something of interest to note: The gusset is one-sided—all increases take place on the palm side of the mitten, leaving a streamlined look on the back of the hand.
Also, I always, always use the Magic Loop method when knitting in the round. If you haven’t already tried this easy-peasy way to work tubes, I heartily urge you to give it a spin. It’ll change your life.
If there’s still snow where you are, or you’d like a leg up on gift knitting for next year, or you want a way to use up your leftover Puffin, I offer you this pattern.

Mitten knitting has gotten my quick-knit juices flowing. It’s a welcome reprieve from some fine-yarn knitting I’m in the midst of. And the basket of Puffin odds and ends is still inviting, urging me to do something a little more colorful. So perhaps I'll keep riffing on this basic pattern until I’ve exhausted my ideas. Or it has finally stopped snowing.
Everyday Puffin Mittens
by Pam Allen
Finished measurements
7½" [19 cm] hand circumference and 10" [25 cm] long
Yarn
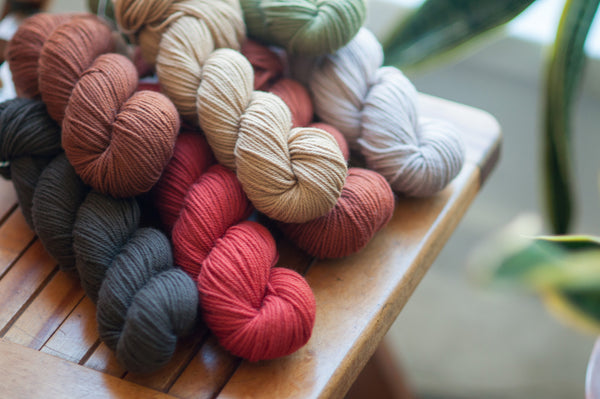
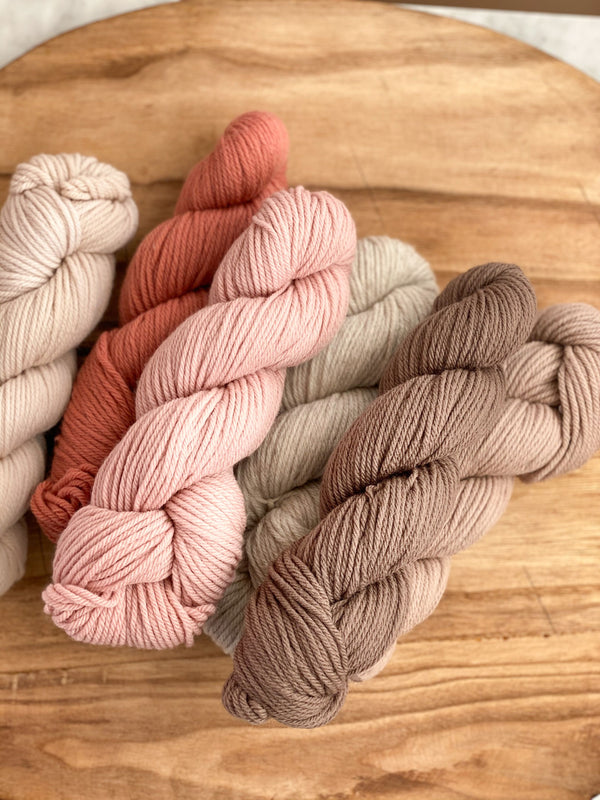
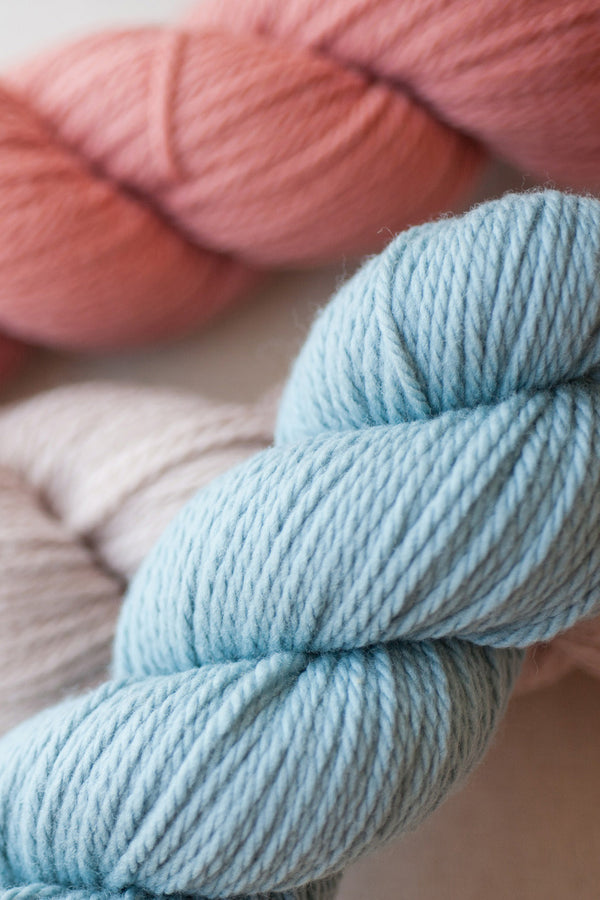
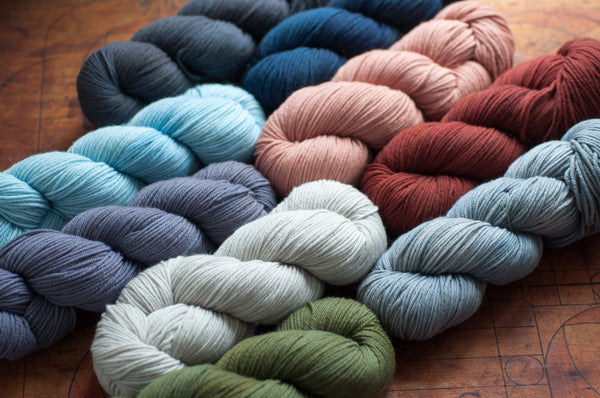
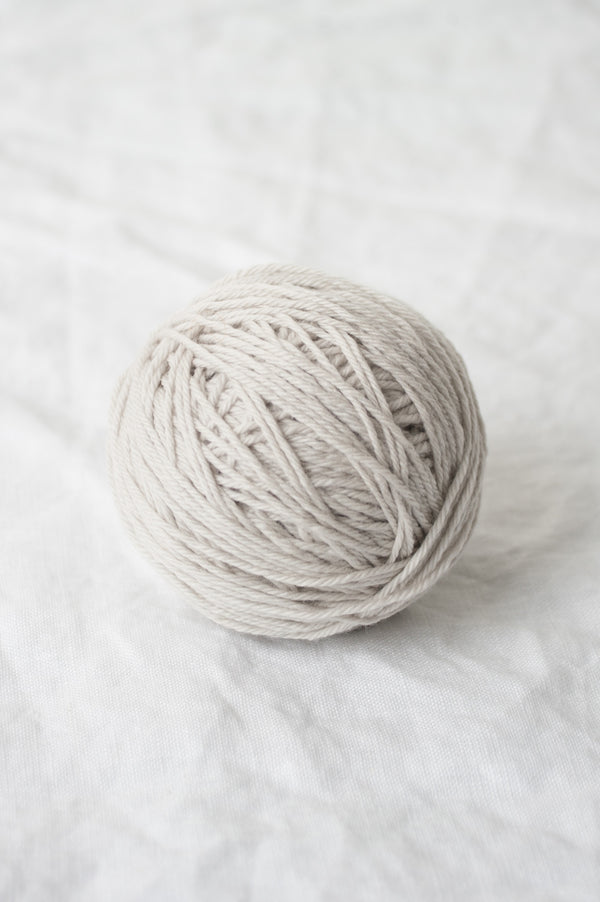
Puffin
(100% American wool; 112yd [102m]/100g)
1 skein Iceland 153 MC
1 skein Sabine CC
Note: Less than 5 yards of CC are used. If you have Puffin leftovers, use them!
Needles
One 40" circular needle in size US 13 [9 mm]
Or size to obtain gauge
Notions
Stitch marker, waste yarn, tapestry needle
Gauge
12 sts and 18 rnds = 4" [10 cm] in stockinette stitch, after lightly steam blocking.
Stockinette stitch (St st): Knit every round.
For standard abbreviations, see this page.
Note
Mittens are knitted in the round, from the cuff up, with a one-sided gusset, forming from the palm side only. Cuff is embellished with simple embroidery stitches, and a twisted cord is added for hanging.
Mittens
Using the long-tail cast on, CO 22 sts. Divide sts so there are 11 sts for each side and join to begin working the Magic loop, careful not to twist sts. Place a locking stitch marker into the first stitch to mark beginning of round (BOR), moving the marker up every few rnds. Or if you prefer, just keep an eye out for the tail from your cast on.
Begin cuff
First rnd: Knit.
Knit every rnd until cuff meas 2½" from CO edge.
~
Left mitten thumb gusset:
Next rnd inc rnd: K9, pm for gusset, M1R, knit to end (1 st inc’d)—23 sts; 12 sts on palm side.
Next rnd: Knit.
Next rnd inc rnd: Knit to marker (m), slip marker (sl m), M1R, knit to end (1 st inc'd)—24 sts; 13 sts on palm side.
Rep the last 2 rnds three more times—27 sts; 16 sts on palm side.
Next rnd: Knit.
Next rnd: Knit to m, place next 7 sts onto waste yarn, using the backward loop cast on, CO 2 sts, knit to end—22 sts; 11 sts on each side.
Proceed to Begin top of hand.
~
Right mitten thumb gusset:
Next rnd inc rnd: K11 from first side, on second side, k2, M1L, pm for gusset, knit to end (1 st inc’d)— 23 sts; 12 sts on palm side.
Next rnd: Knit.
Next rnd inc rnd: Knit to m, M1L, sl m, knit to end (1 st inc'd)—24 sts; 13 sts on palm side.
Rep the last 2 rnds three more times—27 sts; 16 sts on palm side.
Next rnd: Knit.
Next rnd: K11, place next 7 sts onto waste yarn, using backward loop cast on, CO 2 sts, knit to end—22 sts; 11 sts on each side.
Begin top of hand
Next rnd: Knit.
Knit every rnd until mitten meas 9" [23 cm] from CO edge (or until mitten reaches just beyond top of ring finger).
Shape top of mitten
Next rnd dec rnd: *K2tog; rep from * to end—11 sts rem.
Next rnd: Knit.
Next rnd dec rnd: *K2tog; rep from * to last st, k1—6 sts rem.
Break yarn and draw through rem sts.
Thumb
Return 7 sts held for thumb to needle, pick up and knit 1 st to the left of thumb sts, pick up and knit 1 st in first CO sts from hand, pm for BOR, pick up and knit 1 st in rem CO st from hand, pick up and knit 1 st to the right of thumb sts, knit to end—11 sts.
~
Right thumb only:
Next rnd dec rnd: K1, k2tog, knit to end (1 st dec'd)—10 sts rem.
Proceed to Continue thumb.
~
Left thumb only:
Next rnd dec rnd: Knit to last 3 sts, k2tog, k1 (1 st dec'd)—10 sts rem.
Continue thumb
Next rnd: Knit.
Knit every rnd until thumb meas 2½" [6.5 cm] from pickup.
Next rnd dec rnd: *K2tog; rep from * to end—5 sts rem.
Break yarn and draw through rem sts.
Finishing
Weave in ends. Steam- or wet-block mittens to finished measurements.
Embroidery (optional)
Running stitch: With tapestry needle and approx 30" [76 cm] length of CC, beg one or two rows above CO edge, bring yarn under one leg of one stitch (for the right mitten, go under a right leg; for the left mitten, go under a left leg), *skip the next whole stitch, and bring yarn under the same leg of the following stitch; rep from * around mitten. Draw both tails to the WS and weave in.
Diagonal straight stitch: With tapestry needle and approx 30" [76 cm] length of CC, beg two or three rows above previous stitch, bring tapestry needle up from the WS through the center V of one stitch, *count two rows up and two rows over and bring tapestry needle to the WS through the center V of this stitch. Count two rows down and bring needle up from WS in the center V of this stitch; rep from * around mitten [see above photo for a visual]. Draw both tails to the WS and weave in.
Hanging loops (optional)
If you like, visit our Laces blog post for a variety of techniques for making cords and laces. Sample shown used the twisted cord, but pick your favorite. With MC, make a cord that's approx 2½-3" [6-8 cm] long, sew one end to the CO edge of mitten (on the opposite side as the thumb), then sew other end beside the first, creating a loop.