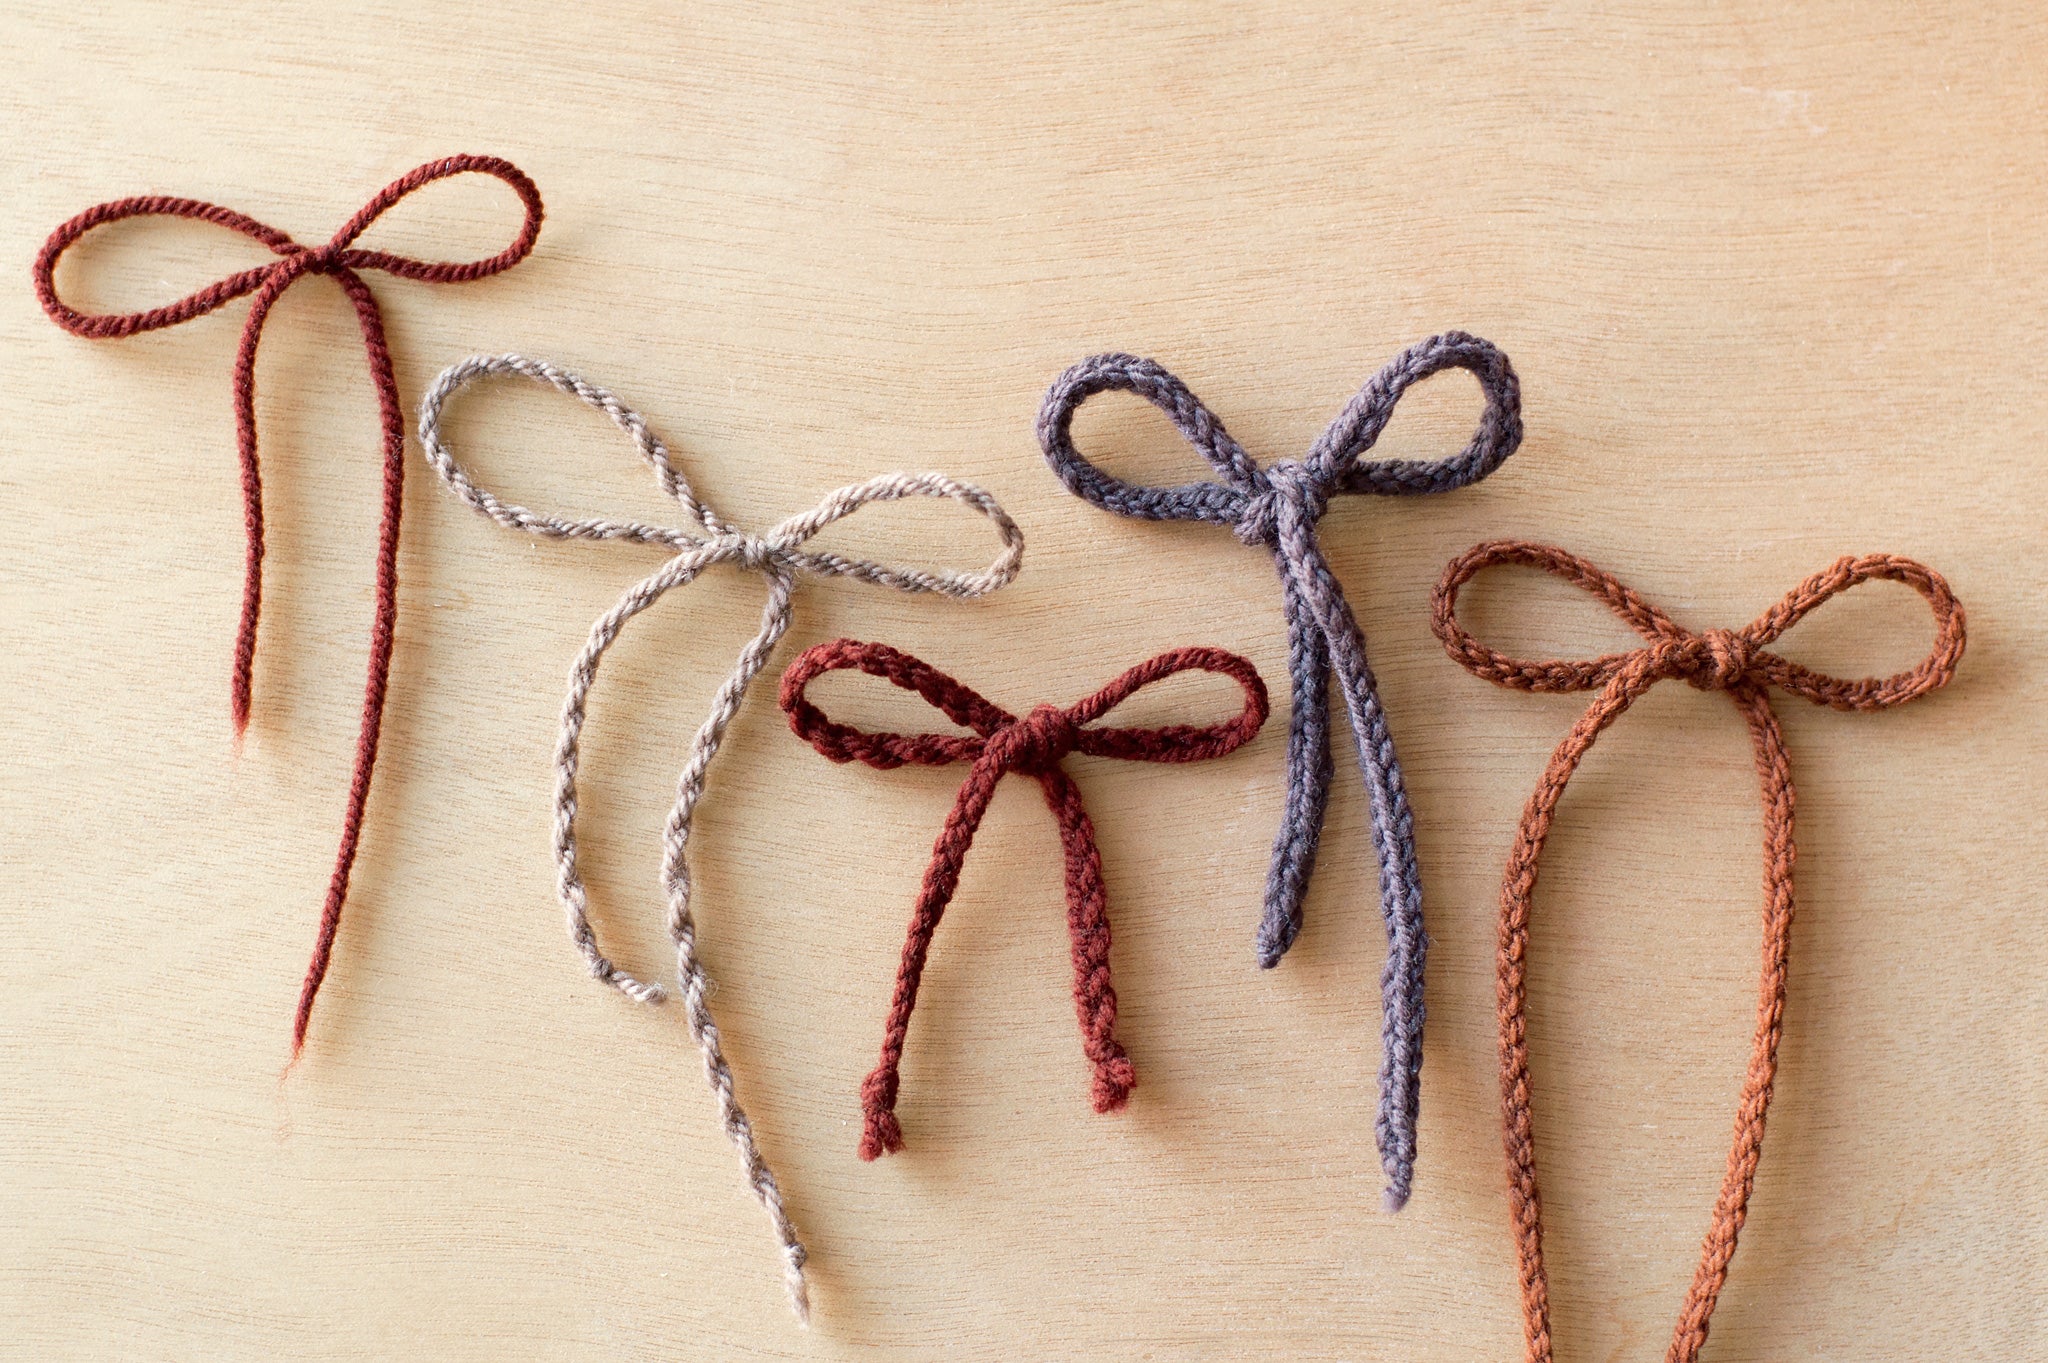
techniques: laces for booties
Our Baby Duck Booties arrived in early October, along with a small run of kits (which were scooped up and sold out in a flash—if you missed out, never fear, they will be back). Since their release, we've had different ways of creating the adorable little laces on our minds.
The pattern gives simple directions: "Cut two 12" [30 cm] lengths of B and lace through holes in upper."
To expand on that a bit, today we cover various methods for creating a lace. Experiment to find which one suits your preference best in terms of thickness, appearance, and overall "laceability".

Left to right, all in Chickadee: Single strand, twisted cord, 3-strand braid, 2-stitch i-cord, and crochet chain
Single strand
The simplest, of course, is a single strand of yarn, cut to the specified length. No frills, this method is also the thinnest, given that no stitchwork is involved whatsoever. For a little reinforcement, you may want to tie overhand knots to each end.
Twisted cord
Also very simple to execute (and super fun for any little ones who may want to help), the twisted cord is made by taking a strand of yarn measured at twice the length required, then folding it in half. Tie an overhand knot at this halfway point, creating the first end, then secure it to your working surface with a weight or tape so that both hands are free. Take one of the two strands and begin twisting it in the same direction as the yarn is plied, increasing the yarn's existing twist. Once you have as much twist in there as is comfortable for it—and you—set that end down on your working surface, securing it with a weight or tape so that your twisting efforts don't come undone. Then twist the second strand in the same fashion. Now, take both highly-twisted strands and allow them to twist together in the opposite direction from which you twisted each individually. Knot the free ends together with an overhand knot, taking care not to lose any of the twist. The two high-twist strands will "grab" each other and relax slightly, though you can help them settle in evenly by gently working the counter-twist along the length of the cord with your fingers.
3-strand braid
Take three strands of yarn measuring a little over the specified length and tie them together at one end with an overhand knot. Secure this knotted end to your working surface, then braid the three strands together, fastening again with an overhand knot at the other end.
2-stitch i-cord
Our version is created with a mere 2 stitches, although you can use 3 or more stitches if you want a thicker lace—the method is the same no matter how many stitches you have. With DPN, cast on 2 stitches. Rather than turning, slide your stitches to the other end of the needle. Doing this makes what was your right needle now your left. Take your working yarn (still at the side opposite where it normally would be) and knit your stitches in the same order as before. Slide them once more to the opposite end of the needle, and repeat until you have enough i-cord measuring the specified length for the laces in the pattern. You're essentially knitting a 2-stitch tube in the round—pretty nifty, isn't it?
Crochet chain
For this last ultra-simple but pretty method, work a crochet chain using a crochet hook approximately the same size as your knitting needle, chaining into the previous chain stitch, until your chain is the length specified in the pattern. Break yarn and pull end through final chain to fasten off.
These are our favorites, although there are many more methods out there. Do you have any techniques you enjoy using that you'd like to share? Let us know in the comments—or, even better, join us on Ravelry in our Quince Kid-along KAL, going on now through December.


