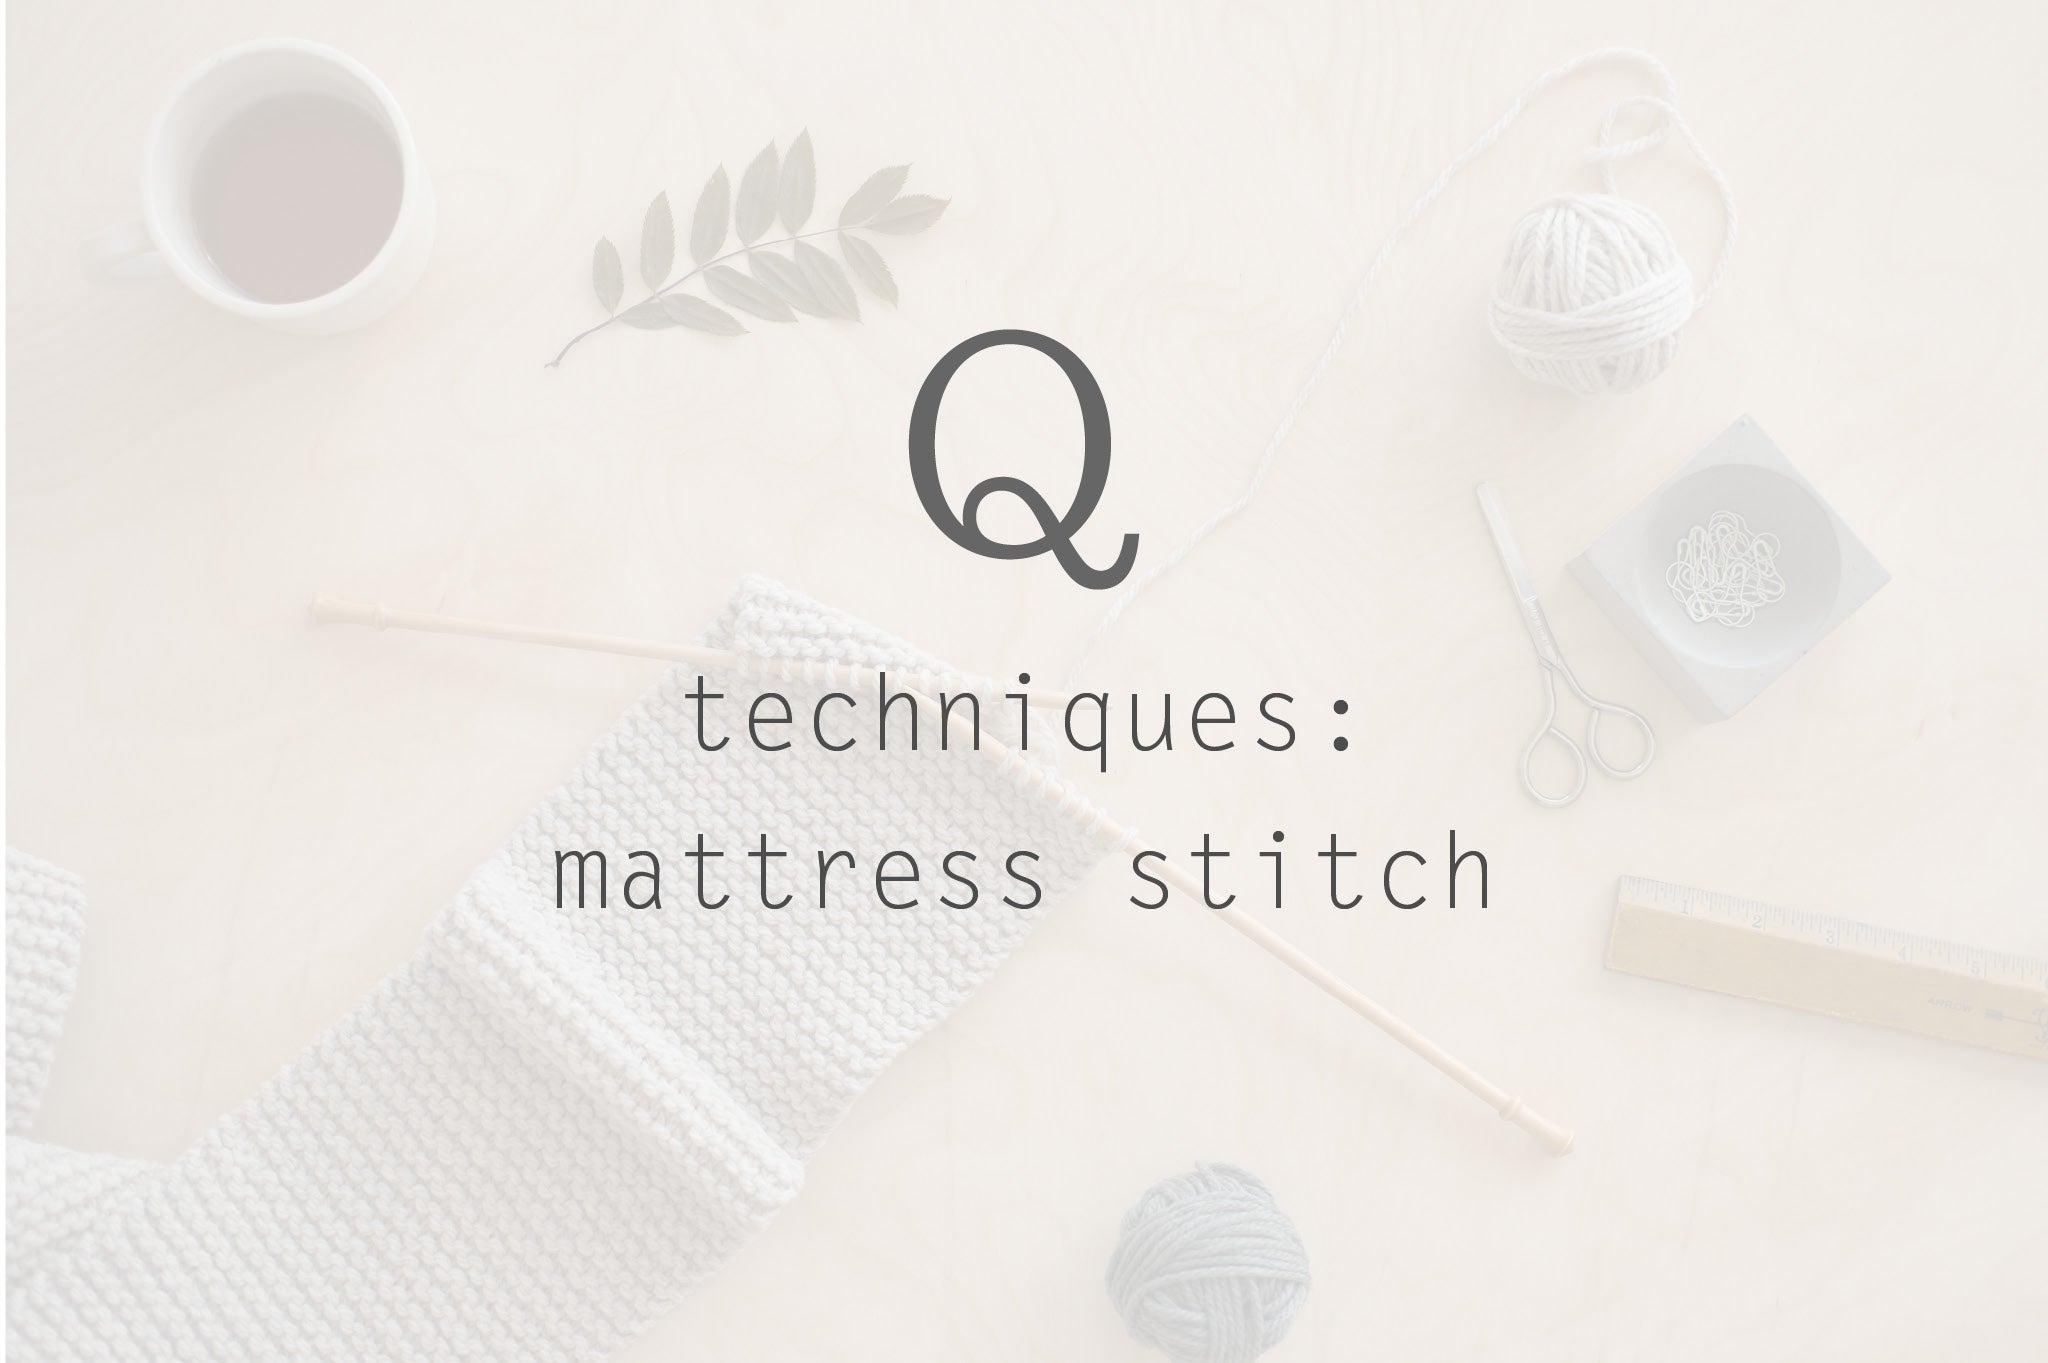
techniques: mattress stitch
seaming 101
This is the first part in a mini-series of techniques posts devoted to the topic of seaming in hand knits—here, we cover a basic method every knitter should have in their arsenal: Mattress stitch. Below, we'll show how to use mattress stitch to join two pieces in stockinette, reverse stockinette, or in garter stitch fabric.
mattress stitch: what, why, and how
Mattress stitch is most often used to sew the sides of knitted pieces together, typically with the RS facing up as you work for a seamless appearance.
When beginning a seamed piece, read ahead before trimming any long tails; you may be able to use the end from your cast on or bind off and save yourself a few ends in the weaving in.
Whether in stockinette, reverse stockinette, or garter stitch, the initial setup is the same: Place edges to be seamed side by side, with the RS facing up (note: unless specified differently in your pattern). Here, stockinette pieces are facing RS up. Thread tapestry needle with yarn at least double the length of your seaming job:

in stockinette/reverse stockinette
- Beginning with piece on the right, insert needle up from under the piece, between the lower edge and the first running thread, one full stitch away from the side edge (a). Repeat for piece on the left (b). Draw yarn up, cinching the two pieces together, and leaving a tail to weave in later (c).
In stockinette:

In reverse stockinette:

- Locate the point where the yarn is coming up from below on the right piece. Starting here, insert needle under next running thread (a) and draw yarn through, gently cinching to join to left piece (b).
- Locate the point where the yarn is coming up from below on the left piece. Starting here, insert needle under next running thread (c) and draw yarn through, gently cinching to join to right piece (d).
In stockinette:

In reverse stockinette:

Repeat Steps 2 and 3 until pieces are joined.
Note that yarn will always begin and end on the top side of fabric. When seaming two sides of one piece together, as in a sleeve, you will always have the same number of rows, give or take one row if there is a bind off. If you are seaming pieces together that do not have the same number of rows, occasionally work under two running threads at a time for the longer piece, then resume working one-to-one. Continue checking and working two-to-one periodically until the remaining unseamed portion of the two pieces are the same length.
Tip: To avoid one piece being longer than the other, work the first piece as instructed, then count your rows. When working the second piece, be sure to work the same number of rows as the first (plus or minus one row is fine).
in garter stitch
To make mattress stitch appear seamless in garter stitch, you will want to work under running threads one stitch away on one side, but half a stitch away on the other. Here we show the half stitch side on the right.
- This leaves you with yarn coming up from beneath a purl stitch on one side (right), and from a running thread between purl stitches on the other (left).

- Locate the point where the yarn is coming up from below on the right piece. Starting here, insert needle under bump of the purl stitch and the top of the knit stitch above it (a) and draw yarn through, gently cinching to join to left piece (b).
- Locate the point where the yarn is coming up from below on the left piece. Starting here, insert needle under this running thread and the running thread from the knit row above it (c) and draw yarn through, gently cinching to join to left piece (d).

Seaming garter stitch in this way creates a seamless transition between the two pieces of fabric.
Looking for other techniques covered here on the Quince blog? View all of our Techniques
1 comment
Very well explained. Thank you!