Tip Tuesday: Crochet Tips for Stitching Periwinkle

Welcome to this week’s Tip Tuesday! This week we’re opening up our tips to the world of CROCHET! If you’re diving into our Periwinkle Crochet Pattern, this guide will help you along the way.
Whether you’re a seasoned crocheter or just starting out, understanding a few essential steps can make all the difference. Let’s take a closer look at the key stitches, techniques, and tips you’ll need to bring this pattern to life.
And let us know in the comments below which crochet tips you would like to see next!
1. Common Crochet Terms
Before you begin the Periwinkle Pattern, it’s essential to familiarize yourself with some common crochet terms and abbreviations.Here’s a quick breakdown of terms you’ll see in this pattern…
- ch: chain - Yarn over (yo) and pull through the loop on your hook. Remember, the loop on the hook is never included in the chain count.
- sc: single crochet - Insert your hook into the indicated stitch or space (sp), yo, pull up a loop, yo again, and pull through both loops on your hook.
- sk: skip - Simply skip the next stitch or space in your pattern.
- sp: space - This refers to the open space between stitches. This term is often seen in lace or in textured stitches.
- st(s): stitch(es)
Keep this cheat sheet handy as you start stitching!
2. How to Read a Crochet Chart
If you’re more of a visual learner, the Periwinkle Pattern includes a crochet chart to guide you through the process. Reading a crochet chart might seem daunting at first, but once you understand the basics, it becomes a helpful tool.
Crochet charts and knitting charts have a similar layouts. Both include a “key” which breaks down the symbols, colors, and terms used in the chart. The key should be the first place you look when you’re getting started with the chart.

Symbols Represent Stitches: Each symbol in the chart represents a specific crochet stitch. For example, a small oval shape usually represents a chain (ch), and a cross or “X” represents a single crochet (sc).
Chart Layout: In a knitting chart, the symbols typically can be found in a grid of boxes. However, because crochet can go in so many directions, these symbols are typically laid out on a blank page in a crochet chart. But don’t worry, although there is no grid, the direction of stitching & reading your chart is clearly laid out.
Direction of Reading: If you’re working in rows, you’ll read the chart from right to left on the odd-numbered rows (1, 3, 5, etc.) and from left to right on the even-numbered rows (2, 4, 6, etc.). If you’re working in the round, you’ll read the chart in a circular motion, from the center outwards, unless indicated otherwise..
Start at the Bottom: Most crochet charts are built from the bottom up. The row numbered “1” at the base of the chart corresponds to the first row of your crochet work.
3. How to Make the Spider Stitch
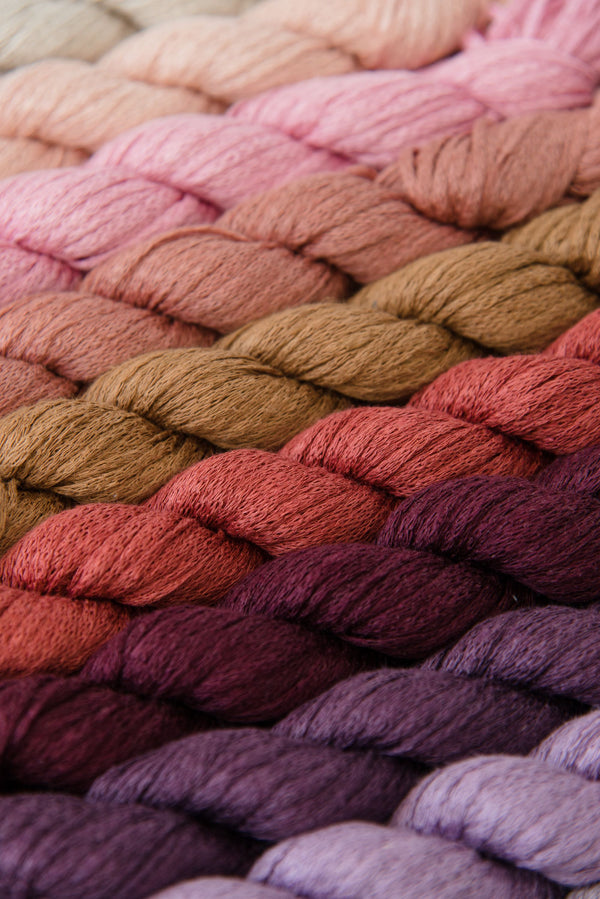
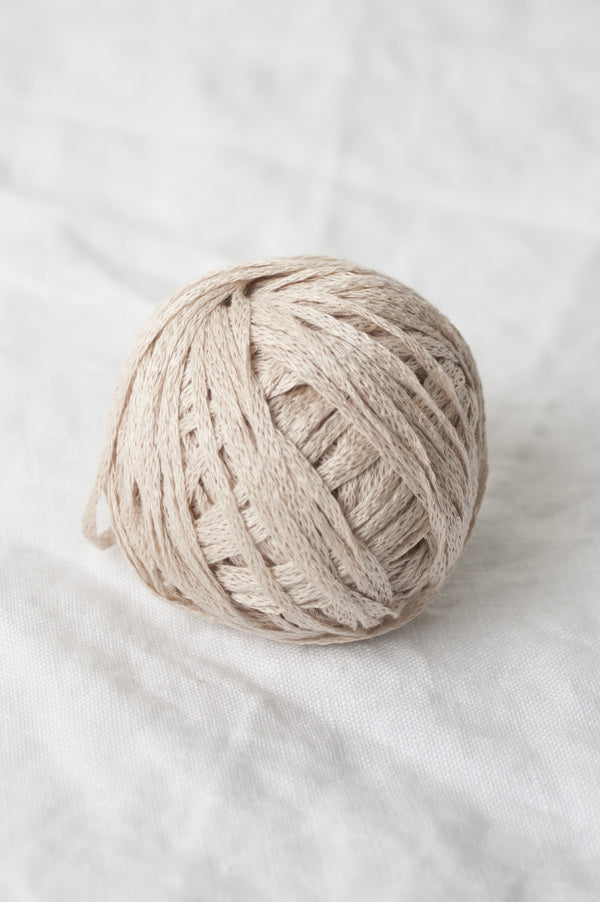
One of the standout stitches in the Periwinkle Pattern is the Spider Stitch. Now that you understand the basics of the pattern let’s get into the tutorial for this simple, textured stitch.Materials in this tutorial include:
Let’s get stitching!

- Step 1: Start with a foundation chain of an even number.

- Step 2: Insert your hook into the second chain from the hook and, pulling up a loop (two loops on your hook), yo, and pull through both loops (this is called a single crochet).

- Step 3: Chain 1.
- Step 4: Insert your hook into the same foundation chain as the first stitch and make a single crochet.
- Step 5: Skip the next stitch.
- Step 6: Repeat steps 2-5 across the row.

This stitch creates a lovely, textured pattern that’s easy to memorize once you get into the rhythm. But if you’re more of a visual learner and you’d like to see it stitched up we have a tutorial in our Instagram Reels.
Whether you’re learning the spider stitch for the first time or just getting comfortable with crochet charts, the key to stitching success is practice and patience.
Enjoy the process, remember crochet can always be frogged and started again, and don’t be afraid to take it slow as you familiarize yourself with these new techniques.
Stay tuned for more knitting AND CROCHET tips next week, and happy stitching!