Tip Tuesday: How to Join Linen & Ribbon Yarns
Linen and ribbon yarns are known for their crisp textures and beautiful drape. But joining a new strand of ribbon yarn to your working yarn can feel a little intimidating. Because ribbon yarns don’t have a tube like structure and can’t be felted together they require a slightly different approach when it comes to joining a new ball.
Today’s tip walks you through a simple, tidy method for joining linen and ribbon yarns that won’t unravel—and won’t leave a bulky knot behind.
Materials Used In This Tutorial

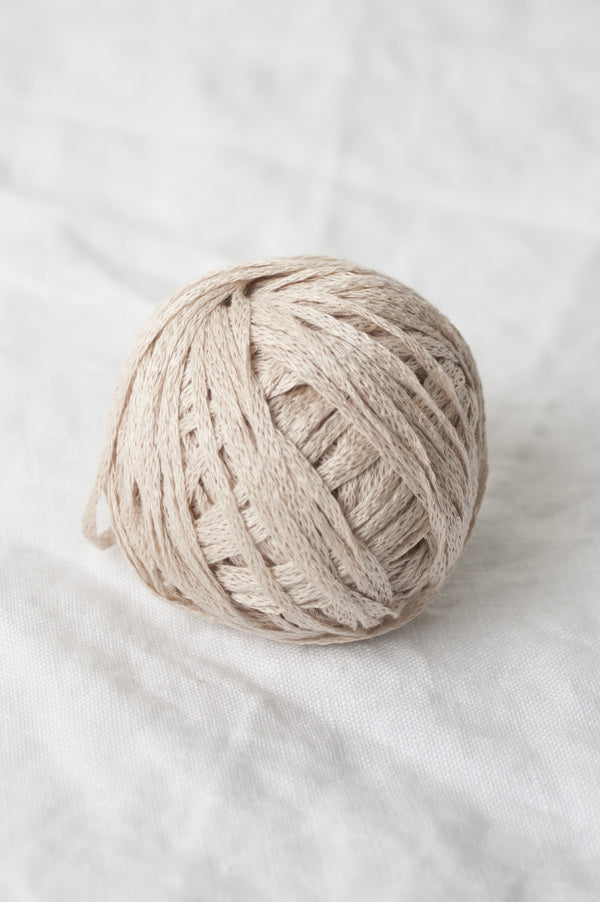
For this tutorial, we used Kestrel, our heavy worsted weight 100% linen yarn. Its unique ribbon structure gives it incredible drape and a modern texture—perfect for warm-weather garments and accessories.
To follow along, you’ll also need:
-
Sewing thread in a matching color. (We used a contrasting black thread here so you can clearly see each step. For your project, choose a thread that blends with your yarn—when in doubt, go a shade lighter rather than darker.)
-
Bronze yarn snips for a clean, precise cut on your yarn and thread.
-
The Daisy ceramic yarn bowl to keep things tidy.
The Problem with Knots
When working with linen (or any plant-based fiber), tying a knot to join yarn usually isn’t the best option. Knots in linen tend to slip or feel bulky in your fabric, which can be uncomfortable—especially in garments that sit close to the skin.
How to Join Linen Ribbon Yarn: A Step-by-Step Guide

1. Overlap the Working Yarn Tail with the New Yarn
When you’re nearing the end of your working yarn, stop with a few inches remaining. Lay the new yarn on top of the old, overlapping both ends so they run alongside each other for several stitches.

2. Stitch Both Yarns Together
Using your sewing thread, carefully sew the middle of your overlap together. Make sure your needle is going through both yarns. In this example, we made the stitches larger for visibility—but when working on your actual project, aim for smaller, more discreet stitches.
Sew over the join 3–4 times, or until it feels secure. You want a strong connection that won’t come apart with wear, but be careful not to overdo it—too many stitches can create bulk or even a small hole in the fabric. Aim for balance: secure, but subtle.

3. Trim Your Knots
Make sure both ends of your sewing thread are securely knotted close to the yarn. Once you're confident the join is secure, carefully trim the thread close to the knots—just enough to keep everything neat without compromising the hold.

4. Finish the Join
Because the join sits in the middle of your overlapped yarns, you’ll have tails on either side. Continue knitting while holding both yarn ends together for a few stitches to secure the join. Then, weave in any remaining tails as you normally would. After just a couple of rows—especially if you’ve used matching thread—the join will blend in beautifully with your fabric.
Why This Works

This method keeps your fabric flat and smooth and your join nearly invisible. It also avoids the risk of hard knots or fraying ends, which can be common when working with slippery or stiff yarns like linen.
Once blocked, your fabric will feel soft and cohesive. No one will even know where the join happened.
Final Tip
If you’re ever unsure about how a join will look, test it in a swatch first. Want more yarn joining options? We have a full list of alternative yarn joins in Tip Tuesday: Four Unique Ways to Join Your Yarns.