Tip Tuesday: How to Knit with the Magic Loop Method
If you enjoy working with circular needles, chances are you’ve already brushed up against the magic loop method, maybe without even realizing it. This clever technique lets you knit small-circumference projects in the round using just one pair of circular needles with a long cord. It’s a great alternative to double-pointed needles, giving you more flexibility and fewer tools to manage.
Whether you're working sleeves, socks, or mitts, here’s how to get started with this surprisingly simple and satisfying method.
What You’ll Need

- A circular needle with a long cord.
-
Your yarn and project, cast on and ready to go
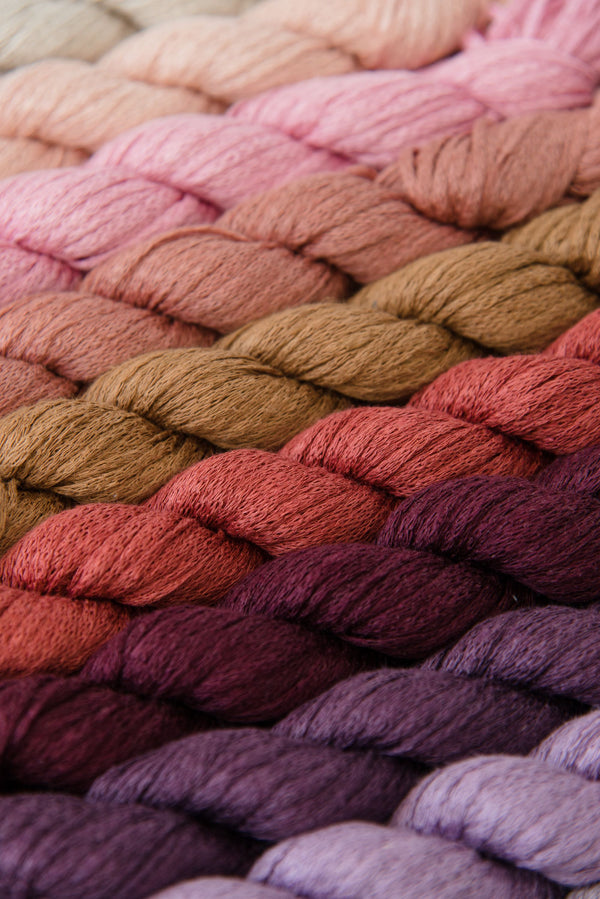
For this tutorial, we used Puffin Yarn. - A removable stitch marker to mark the beginning of the round.
-
Optional: Daisy Ceramic Yarn bowl to help keep your yarn from rolling around while you stitch.
Step 1: Cast On Your Stitches

Cast on the number of stitches your pattern calls for using your long circular needles.
Optional Tip: Cast on one extra stitch. You can use it in Step 3 to create a clean join for working in the round.
Step 2: Divide Your Stitches

Slide all the stitches to the middle of the cable. Fold the cable in half so the stitches split into two (roughly) equal groups. If you have an uneven number of stitches that’s ok.
Step 3: Join to Work in the Round (Optional Clean Join)

Carefully slide both sets of stitches toward the needle tips. Make sure your cast-on edge isn’t twisted.
If you cast on an extra stitch:
-
Slip the first stitch from the left needle to the right needle.

-
Pass the second stitch on the right needle over the stitch you just moved and off the needle (the same way you would if you were binding-off).
Step 4: Rotate and Position Your Needles

Turn your work so the needle tips are pointing to the right. The working yarn should be coming from the back.
Pull the front needle (the one with stitches closest to you) so that the stitches rest on the cord, freeing the needle tip to knit.
Step 5: Knit the First Half

Place a removable stitch marker in your first stitch to mark the beginning of your rounds. Use the free needle tip to knit across the stitches on the back needle (the one farthest from you).
Watch your tension as you begin and end each half to prevent loose stitches or gaps in your knitting.
Step 6: Shift and Rotate

Once you’ve knit across the first half of your stitches, you’ll have a free needle again. Gently pull on the cable loop at the opposite end to bring the second group of stitches onto the left-hand needle.
Rotate your work so the needles are once again pointing to the right, and pull the front needle out to knit the next half of your stitches.
Step 7: Knit the Second Half

With your working yarn at the back, knit across the second group of stitches. Keep those edge stitches snug to avoid laddering.
Pro Tip: If you notice a gap forming at the folds, tug the first stitch or two of each half a bit tighter to help even things out.
Step 8: Repeat the Pattern

Knit across the front. Shift and rotate. Knit across the back. That’s the magic loop rhythm. As your project grows, the process becomes smoother and more intuitive.
Remember…
Magic loop may feel a little awkward at first—but once you find your rhythm, it quickly becomes second nature. It’s a helpful skill for everything from sleeve cuffs to baby hats, and it saves you from juggling multiple needles.
If you're casting on a larger number of stitches, always double-check that your cast-on edge isn’t twisted before joining. A few extra seconds here can save you a lot of frogging later.
Keep growing your skills with more Tip Tuesday techniques and tutorials.