Tip Tuesday: How to Do the German Twisted Cast On

Looking for a cast on that creates a beautiful and stretchy edge? Meet the German twisted cast on. This technique creates an elastic foundation that's perfect for ribbing, sock cuffs, or any project where you need a little extra give. It might look complicated at first glance, but once you get the rhythm down, it becomes second nature.
Today's tip walks you through this essential technique step by step, plus why it's such a favorite among experienced knitters.
Materials We Used in This Tutorial
For this tutorial, we used:
-
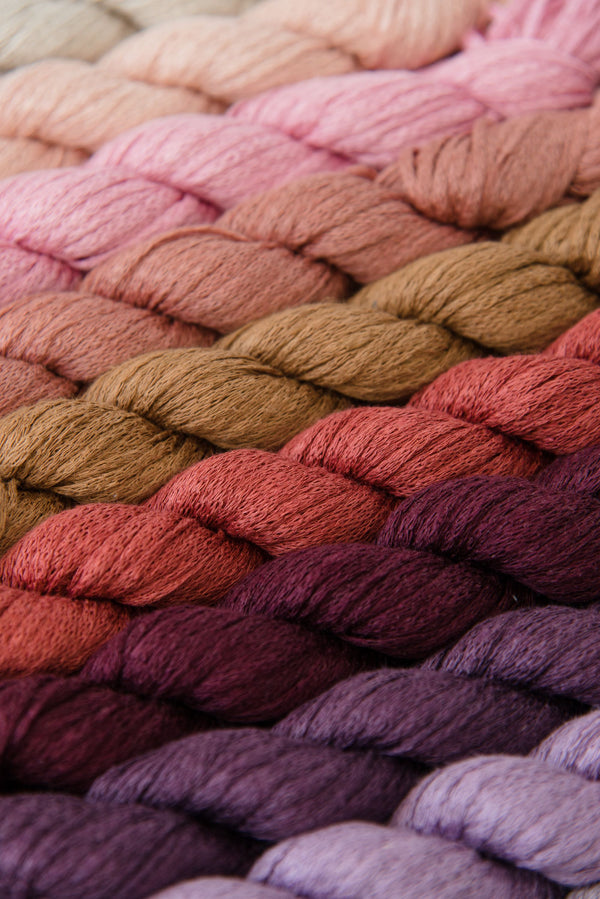
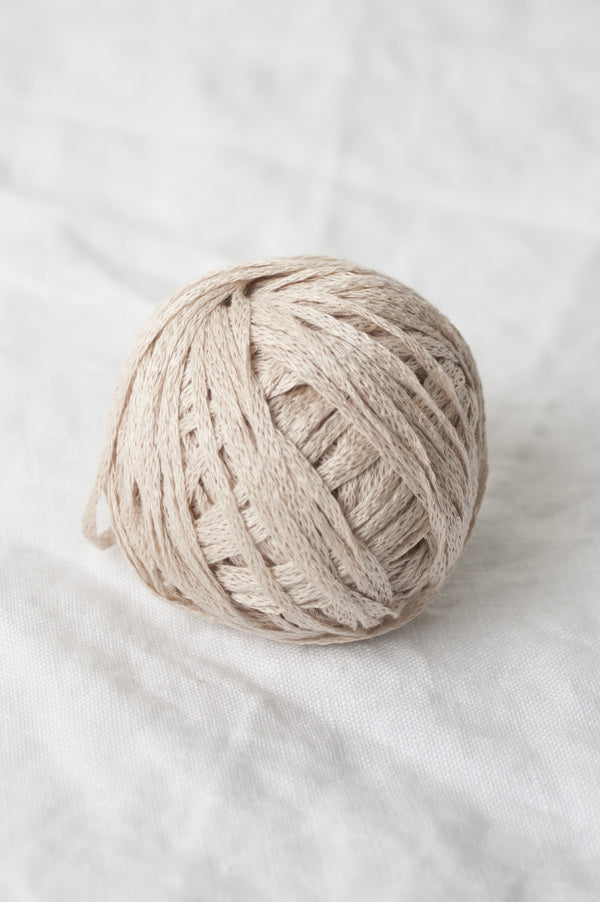
Wren: our worsted weight blend of American wool and organic cotton. Its wonderfully natural springiness makes it perfect for practicing this new technique.
-
Lykke 5" Multi Color Interchangeable Circular Needles (we used a size US 5 / 3.75mm): the smooth birchwood finish helps your stitches glide easily as you stitch.
What Makes the German Twisted Cast On Special?
The German twisted cast on creates an incredibly elastic edge that bounces back beautifully after stretching. Unlike a standard long-tail cast on, this technique creates small loops between each stitch that provide extra stretch, making it the perfect cast on for sock cuffs that need to go over heels, or sweater hems that need to move with your body.
The secret? Each stitch is twisted as it's cast on, creating that distinctive stretchy structure.
How to Work the German Twisted Cast On: A Step-by-Step Guide
Set-Up:
First, estimate your tail length: count out how many stitches you want to cast on, then wrap your yarn around your needle that many times and double that length—that's about how long your tail should be. Start with your yarn in a slingshot position. Place your needle on top of the slingshot and twist to create the first stitch. Hold your needle in your right hand, with the working yarn (attached to the ball) over your index finger and the tail over your thumb.


Step 1: Position Your Needle
With your yarn in the slingshot position, bring your needle under both strands from your thumb, then place it on top of the strand that's furthest away from you (the back strand of your thumb loop)


Step 2: Grab the Index Yarn
Reach around with your needle to grab the yarn from your index finger and pull it through the hole created by your thumb strands. As you pull the yarn through, move your thumb slightly to help open up that hole—this makes the motion much smoother.


Step 3: Secure the Stitch
Place the twisted loop on your needle and gently tighten by pulling down on both yarn strands.

Step 4: Reset and Repeat
Drop the loop from your thumb and reset your grip with the tail over your thumb again. Repeat steps 1-3 for each additional stitch.
Pro Tips for Success
Watch Your Tension: Keep your cast-on stitches loose enough that you can easily knit into them on your first row, but not so loose that they look sloppy. The twist naturally creates some tightness, so err on the side of slightly loose.
Count Twice: It's easy to lose track when learning this technique. Count your stitches every 10 or so to make sure you're on track.
Practice Makes Perfect: If the rhythm feels awkward at first, that's completely normal. Try casting on a practice swatch of 20-30 stitches to get comfortable with the motion before starting your actual project.
When to Use This Cast On
The German twisted cast on shines when you need maximum stretch:
-
Sock cuffs and toe-up sock toes
-
Bottom edges of sweaters, especially fitted styles
-
Hat brims
-
Any ribbed edge that needs to stretch over body parts
Final Tip
Not sure if this cast on is right for your project? Swatch it! Cast on 20 stitches using the German twisted cast on, work a few rows in your planned stitch pattern, then make another swatch and cast on 20 stitches using your usual method. Compare the stretch and appearance. You'll immediately see the difference.
Looking for more essential knitting techniques? Check out our full collection of Tip Tuesday posts for more ways to grow as a stitcher.