Tip Tuesday: How to Knit a Tubular Cast On
If you’re looking for a clean, stretchy edge for your next ribbing project, the tubular cast on is a must-try. This technique creates a soft, rolled edge that flows seamlessly into 1x1 ribbing. It’s perfect for hats, cuffs, and necklines where you want extra elasticity and a smooth finish.
Today’s tip breaks it down step by step, plus a few handy tricks to help your edge turn out just right.
Materials We Used
For this tutorial, we used:
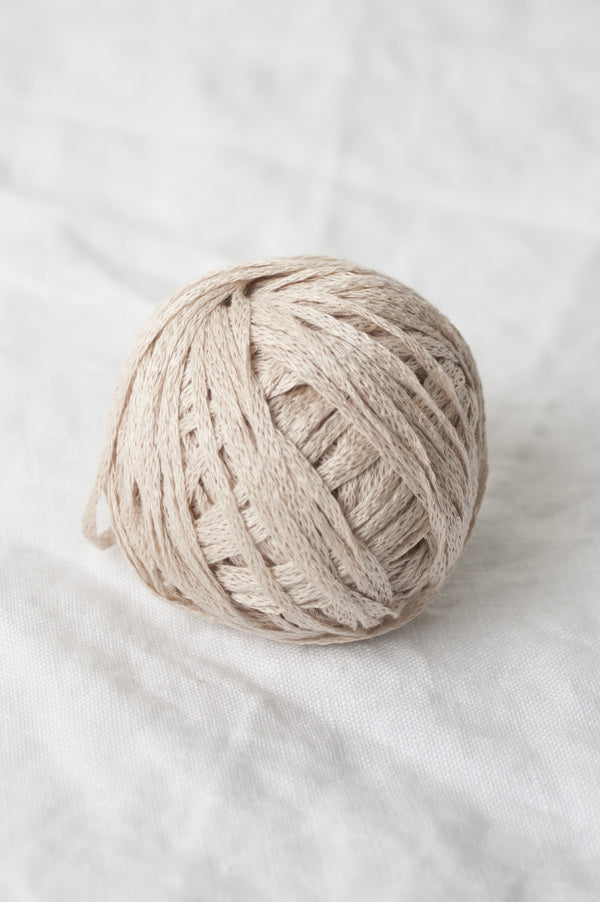
Chickadee: This soft, springy yarn has beautiful stitch definition with just the right amount of bounce. It’s perfect for showing off the cushiony, rounded look of the tubular cast on.
Lykke 3.5" Multi-Color Interchangeable Circular Needle Set: These needles have a smooth finish that helps your yarn glide easily from stitch to stitch.
Pro tip: The tubular cast on tends to run a little loose, so we recommend going down a needle size just for the cast on. Once you finish the foundation rows, switch back to your regular needles for the rest of your ribbing.
How to Do a Long Tail Tubular Cast On
Before you dive in, make sure you have enough tail yarn for all your cast-on stitches, plus a little extra, just in case. It’s always better to have a bit more rather than to run short halfway through.
The tubular cast on starts just like a classic long-tail cast on. Hold your yarn in the familiar “slingshot position,” with the tail over your thumb and the working yarn over your index finger.
Set Up Stitches
 1. First Stitch (Slip Knot)
Start with a slip knot on your needle.

2. Second Stitch (“Purl” Stitch)
With your yarn held in the usual slingshot position:
Bring your needle over and around the yarn on your index finger.
Scoop up the yarn around your thumb, also coming from above.
Bring your needle and yarns back to its original slingshot position, this motion creates a “purl” bump.

3. Third Stitch (“Knit” Stitch)
Staying in the slingshot:
Bring your needle over the yarn around your thumb.
Pick up the yarn on your index finger, again coming from above.
Bring your needle and hands back to the slingshot position.
 4. Repeat
Keep alternating the “purl” and “knit” stitches (steps 2 & 3) until you’ve cast on all your stitches.
For the purposes of this demo we used an even number of stitches, but always end with a “purl” stitch.
 5. Get Ready for Row 2:
Before moving on, make sure you’re holding both your tail and working yarn securely. When you’re ready to start the next row, always turn your needle counter-clockwise. This simple step is so important because it helps keep your last stitch from unraveling.
6. Work the Foundation Rows
These next steps use slip stitches to form the tubular edge and transition your cast on seamlessly into ribbing.
Foundation Row 1: Knit 1 through the back loop, slip 1 purlwise with yarn in front (wyif); repeat from * to end of row.
Foundation Row 2: For this row, you don’t need to work through the back loop. Simply knit 1, slip 1 purlwise wyif; repeat to end of row.
Before continuing with your ribbing, switch back to your regular needle size.
 7. Start Your Ribbing
Now, simply work your 1x1 rib (k1, p1) across until your ribbing is done. You’ll see that beautiful rounded edge appear as you knit.
Why We Love It
The tubular cast on takes a little extra time, but the smooth, stretchy edge is worth it. Once you get the hang of it, it’s one of those techniques that instantly levels up your finished pieces.
Want more tips and step-by-step tricks?
We have a full library of Tip Tuesday posts waiting for you on the Quince&Co blog. Get started today!