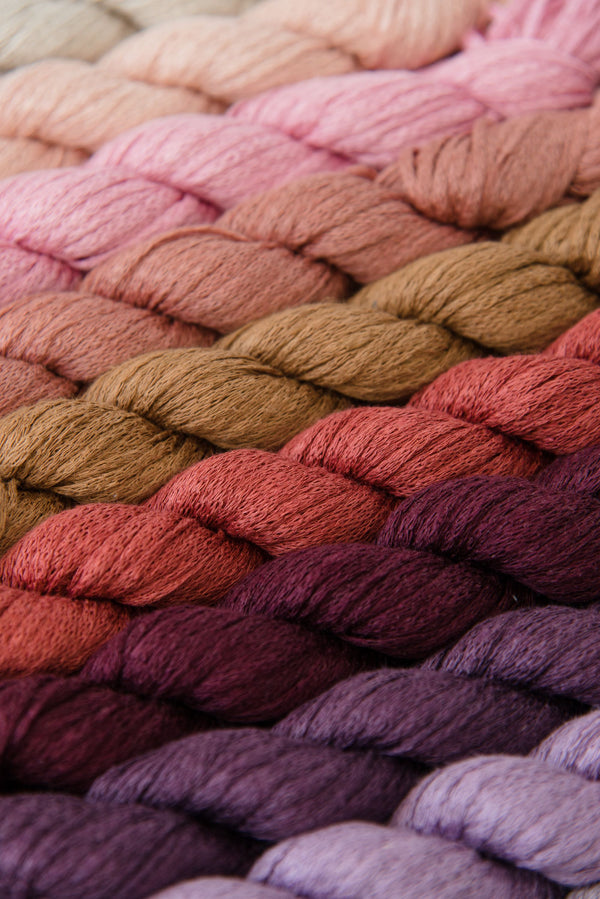
Tip Tuesday: Your Five Minute Guide to Stitch Markers

Stitch markers are made to make your life easier. They can be used to mark the number of rows you have stitched, call your attention to places in your pattern where intricate stitches begin (for example decreases/increases), and can save you from having to repeatedly count while you work. Today we’ll give you the tips you need to start adding stitch markers into your routine!
Getting started: Types of stitch markers

Closed Stitch Markers aka ring markers - These markers can only be slipped as you stitch. There is no way to remove them from your work once the row above them has been stitched.

Open Stitch Markers aka removable - Open stitch markers can be both slipped while you knit or placed on the stitch itself. These have an opening and clamp into place, making them removable after the row is stitched. 
Lobster Claw Stitch Markers - This is a variation on the closed marker. While it could be slipped on smaller knitting needles, It’s actually the perfect choice for projects that require you to place the stitch marker directly on the stitch itself. This could be for times when you need to count rows. It is also a great tool for crochet projects.
Decorative Stitch Markers - The decorations on stitch markers, while beautiful, serves a purpose too! These decorations help you easily see and call attention to the stitch that marker is marking. When stitch markers in a pattern signify different actions it can be helpful to have different visual cues for each action. So if one stitch marker signifies when you should decrease and another signifies an increase it’s helpful to use stitch markers that look different from one another. 
Still unsure about which type is right for your current project? Luckily, our friends at Markit created a trio of all of your stitching needs.
Terms: Abbreviations and common stitch marker pattern terms
You might have noticed the terms “slip” and “place” used above.
Placing your marker, often written as PM is the action of placing your marker on your right needle (typically used the first time you use that marker in the pattern. 
To “slip” your marker, often written as SM or SL M, you simply stick your needle into the SM and move it from your left needle to your right needle before continuing to knit. This term is typically used the next time you come into contact with the stitch marker from a previous row.

Stitch markers in action: Reading a pattern with stitch markers
Ok, now that you know the types of stitch markers and how to use them, let’s talk about reading patterns that require stitch markers. A stitch marker is used to call your attention to the stitch that is coming up next in your pattern. Think of it like a flag waving in your stitches. If your pattern is telling you to: *k5, SM, K2tog, K5, Repeat from *
You would read this as Knit five stitches, Slip your stitch marker from your left needle to your right, Knit two together, and then knit five more stitches.
Note, on wrong side rows, your pattern may just say purl across. In those cases the SM is implied and you'll simply slip the markers as you come to them.

The Versatility of Open SM
Lastly, we’re going to talk about the different ways you can use open stitch markers. Open stitch markers can be used by slipping them and they can be placed directly on a stitch. This is helpful when you are crocheting and can can’t slip them. But it is also helpful at times when you have to repeat a section of a pattern multiple times.
For example if a pattern calls for you to repeat rows (1-5) 8 times. Rather than keeping a tally mark every time you complete row five, you can instead place a removable stitch marker on the fifth row. This makes counting your sections easier than ever, especially in longer projects! 
Things to note…
Always check that your closed stitch markers will fit over your needles. Stitch markers come in a variety of sizes so before you begin your project, make sure that the one you choose fits over the diameter of your chosen needle.
Additionally, when working in the round, it’s important to pay attention when putting down your work or taking a break. Stitch markers can slip off of your needles and if you aren’t paying attention you could lose your marker in the couch pillows. So when taking a break pay attention to where you are leaving off.
It’s also important to make sure that you’re paying attention to your tension on the stitches before and after your stitch markers. Your stitch markers should not leave a gap in your work or weight down your stitches. BUT if that should happen, not to worry, it can typically be helped with a little blocking.
And if you’re feeling nervous, you can test out your stitch markers when you make your swatch!
And voila! That’s how you use stitch markers in your work! Using stitch markers is easy once you get the hang of it and you’ll no longer have to worry about being interrupted in the middle of counting. Simply sit back and let your markers do the memory work for you.
2 comments
Thanks for the tutorial. I learned something new today
Nice to have a reminder. Thanks for this info. I like to look for different stitch marker when I travel. Since my yarn stash is getting too big, they are easier to collect.